How to Streamline Image Optimization Across Multiple WordPress Sites
Optimize images at scale with WP Umbrella and ShortPixel. Save time, improve site speed, and boost client results with efficient image management.

Managing multiple client websites is already a juggling act. Add bloated image files and rising performance expectations, and you’re stuck doing time-consuming work that doesn’t scale. If you’re running a WordPress agency or managing multiple sites, manually optimizing images for each one is simply unsustainable.
But with the right tools and workflow, you can handle image optimization at scale, without burning hours of your time. Here’s how to do it efficiently using WP Umbrella and ShortPixel, and why it’s absolutely worth the effort in the first place.
Why Image Optimization Matters (Especially at Scale)
Images aren’t just a visual bonus. They’re usually the heaviest files on a page, and they have a huge impact on how fast (or slow) a site loads.
In fact, HTTP Archive data consistently shows that images make up more than 50% of a typical web page’s weight. That’s half your load time eaten up just to display pixels.
A website isn’t complete without images, but you don’t want them weighing you down. Here’s why keeping them optimized matters:
✅ Faster load times – lighter images mean quicker pages. That’s a better experience for everyone, especially mobile users on slower connections.
✅ Better Core Web Vitals – Google’s page experience metrics (LCP, CLS, FID) are directly impacted by how fast and smoothly a page loads. Optimized images reduce Largest Contentful Paint (LCP), one of the key metrics.
✅ Improved SEO – Google ranks faster sites higher. It’s that simple.
✅ Reduced server strain – Lighter files = lower bandwidth and hosting costs.
✅ Happier clients – No one likes waiting. Faster websites mean fewer user complaints and ultimately, happier clients.
Bottom line: Image optimization is essential, especially when you’re managing sites at scale.
The Challenge: Scaling Image Optimization
Optimizing images on a single WordPress site is pretty straightforward. You install a plugin like ShortPixel, tweak a few settings, and you’re good to go. Job done.
But once you’re managing 10, 20, 50 or more sites as an agency, things get much more complicated.
The traditional way is clunky and time-consuming:
- Log in to each site individually
- Install and configure the plugin every single time
- Manually monitor performance and optimization stats
- Investigate issues one site at a time
Now multiply that by the number of sites you’re managing, and you’ve got a full-time headache, caused by inefficiency, inconsistency, and a waste of energy.
To scale properly, you need centralized control, repeatable workflows, and visibility across all your sites – without jumping between logins and dashboards.
The Solution: Right Tools + Workflow
Instead of juggling dozens of site logins and plugin dashboards, you need a single place to control everything. That’s exactly what WP Umbrella delivers: a centralized dashboard that brings automation, consistency, and clarity to your process.
Let’s break down the most efficient workflow for image optimization.
Step 1: Set up WP Umbrella on Your Websites

To streamline image optimization across all your WordPress sites, you’ll first need to get WP Umbrella up and running.
Start by signing up for a free trial.
Once you’ve signed up:
- Install the WP Umbrella plugin on each of your WordPress sites.
- Connect your sites to your WP Umbrella dashboard using the provided API key.
Once connected, you’ll have all your sites in one central place, ready for bulk management.
Step 2: Install ShortPixel on All Sites at Once
WP Umbrella’s bulk plugin management makes deploying ShortPixel a breeze.
Here’s how:
- Log in to your WP Umbrella dashboard
- Go to Bulk Management > Plugins
- Click + Bulk Add Plugin
- Choose the upload method. For convenience, paste the ShortPixel link from WordPress.org
- Select the sites where you want it installed
- Click Install
- Click the Confirm button

Pro Tip
With a single ShortPixel Unlimited plan, you can optimize unlimited images across unlimited websites. For cleaner client separation and easy access control, use API key aliases for each site.
Step 3: Fine-Tune ShortPixel Settings
Once ShortPixel is installed, take a moment to configure it properly. The right settings can make a difference in both performance and image quality. Here’s what to pay attention to:
Before you hit “optimize”, make sure these settings are dialed in:
Compression Type
- Lossy – Best file size reduction, ideal for general websites where speed matters most.
- Glossy – Balanced option for creatives and portfolios; better image quality, still smaller files.
- Lossless – No quality loss, but minimal compression. Use when image fidelity is critical.
Optimize Media on Upload
Turn this on so every image upload is optimized after upload. Saves time, especially for clients who publish often.
Backup Original Images
It’s enabled by default, and we recommend leaving it on at first. Once you’re confident everything’s working as expected, you can delete backups to free up disk space.
WebP / AVIF Delivery
Deliver smaller, faster-loading images by enabling WebP and AVIF for modern browsers.
Let ShortPixel serve the right format locally or via CDN, based on browser support; it handles fallbacks automatically.
PNG to JPG Conversion
Enable this option to automatically convert PNG photos to JPG. It’s great when clients upload photos as PNGs since JPGs are smaller and help save disk space.
💡 Pro tip: To speed up deployment, use the import/export feature to copy settings from one site to another.
Lastly, after dealing with the settings, go to Media > Bulk ShortPixel on each website to optimize existing images. New uploads will be handled automatically.
Step 4: Monitor Performance from One Dashboard

Deploying ShortPixel is just the start. You need clear insight into how those optimizations impact your sites.
WP Umbrella’s uptime and performance monitoring gives you exactly that, all from a single, centralized dashboard.
- Track PageSpeed Insights scores in real time
- Spot which sites are still underperforming
- Compare all your sites at a glance
This centralized view cuts hours of manual work and lets you make smarter, data-driven decisions. No more guesswork or wasted time toggling between individual WordPress installs.
Ready to boost your productivity, impress your clients, and grow your WordPress agency?
Install WP Umbrella on your websites in a minute and discover a new way to manage multiple WordPress sites.
Get Started for free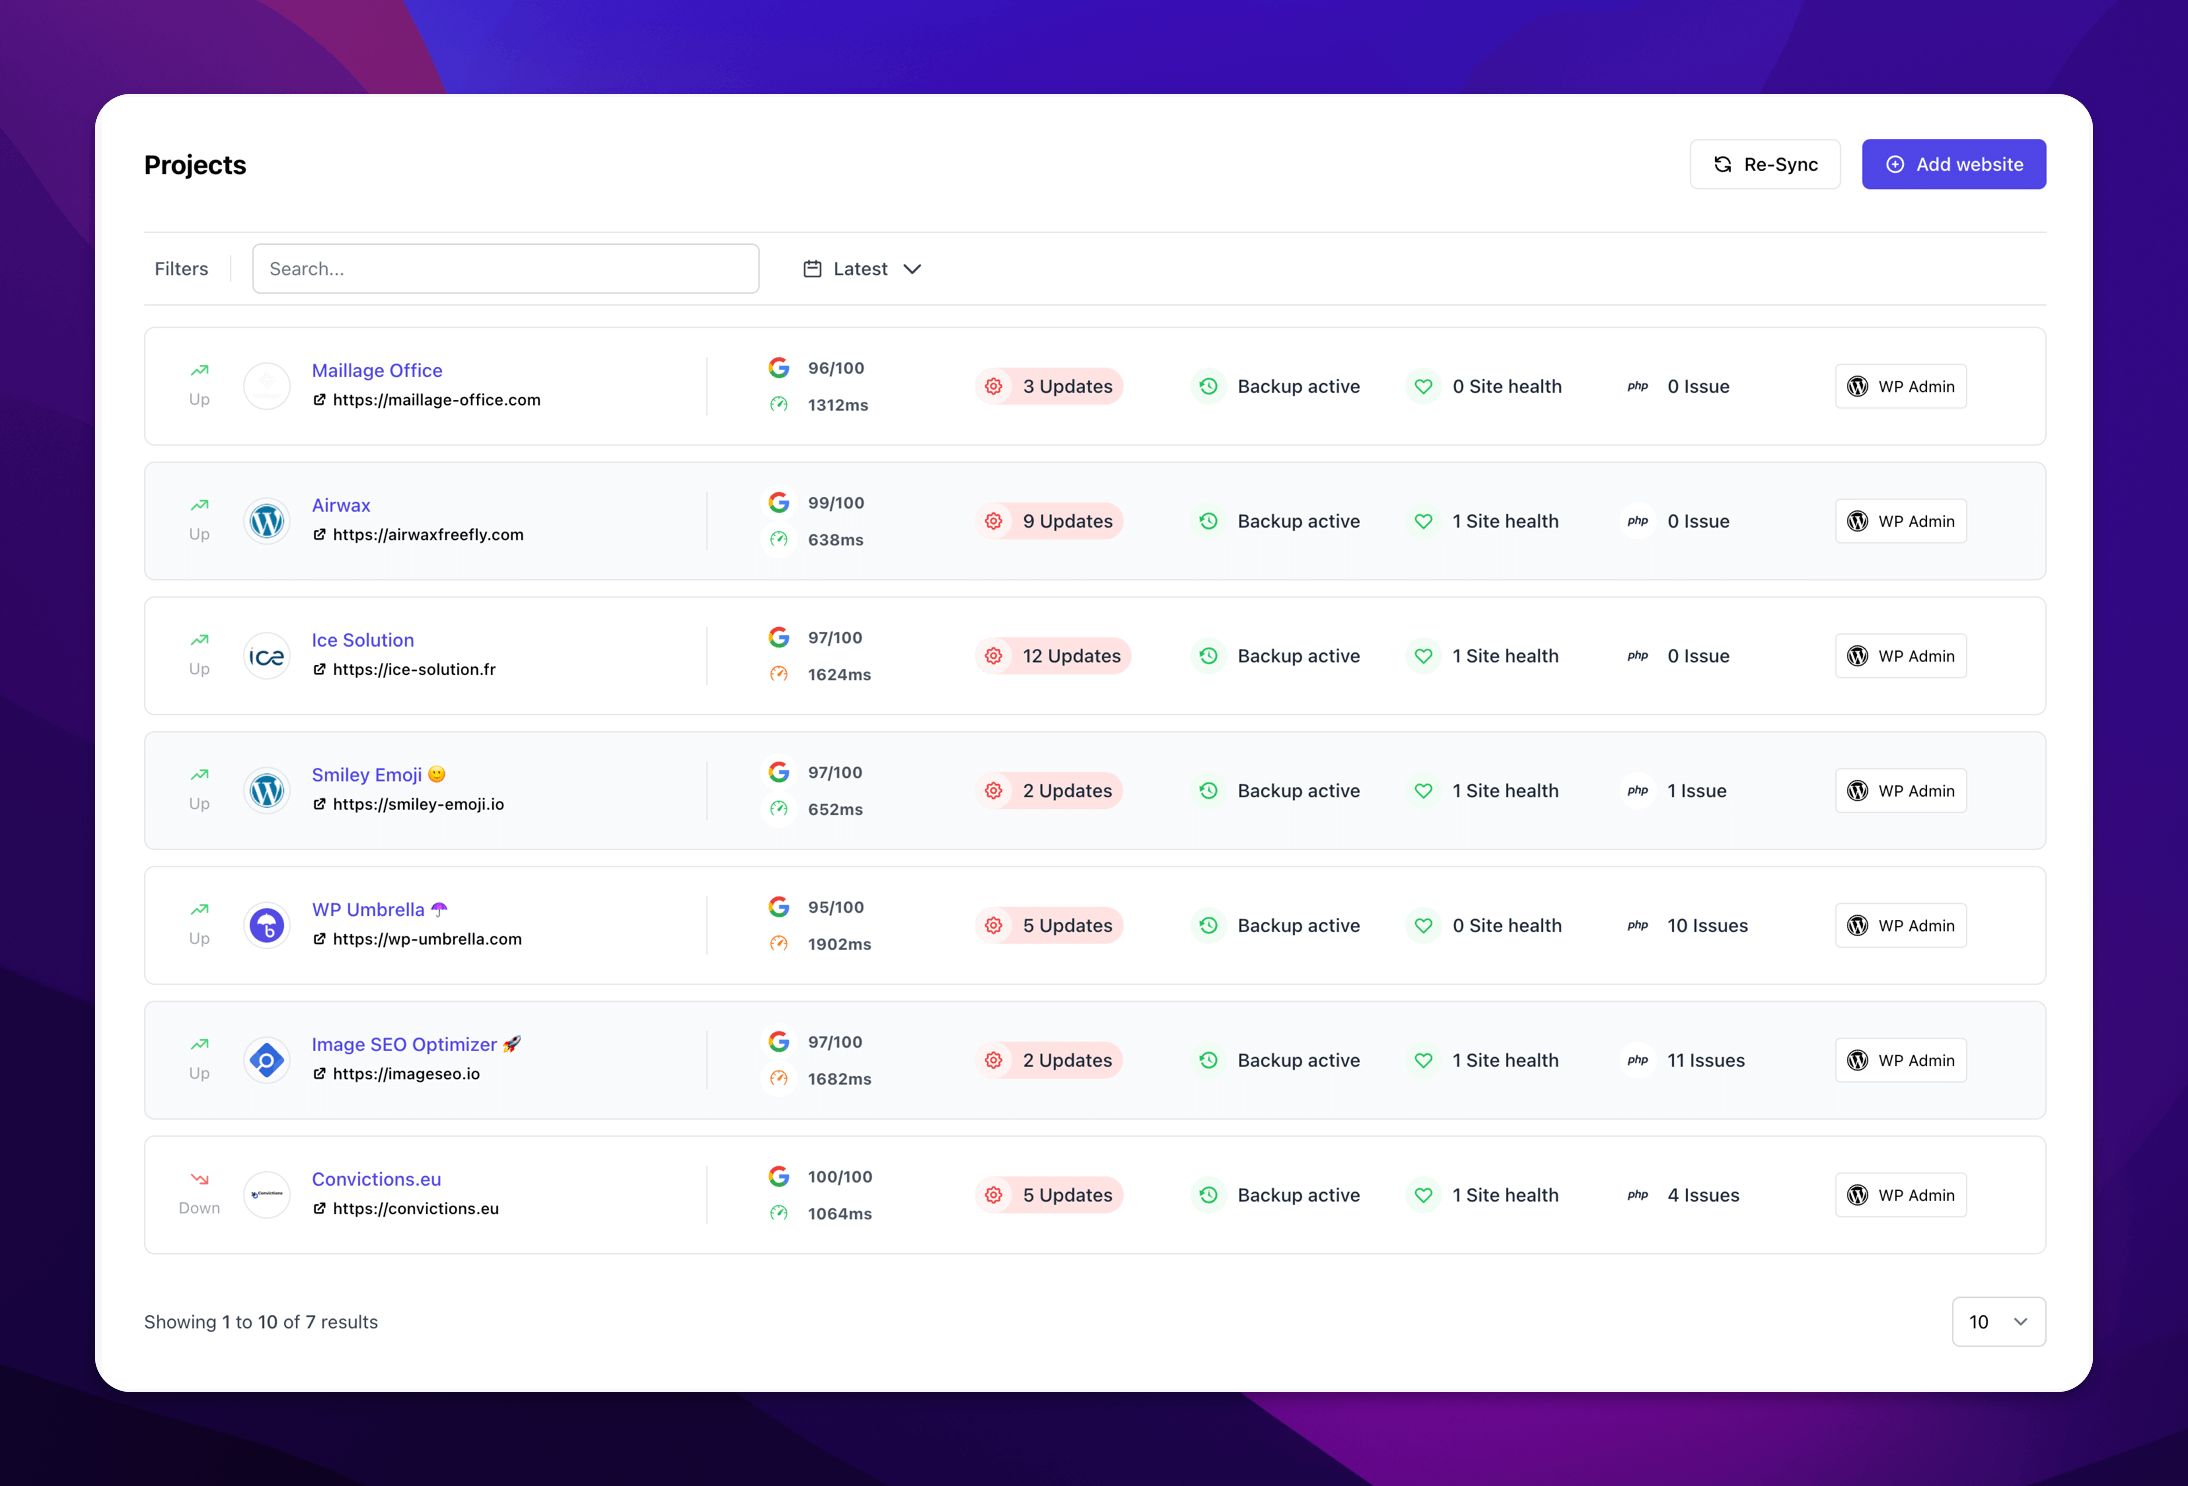
Step 5: Show Clients the Value
Transparency is key to building long-term client trust. Showing measurable results turns your work into a compelling story.
With WP Umbrella, you can highlight the real impact of your maintenance and optimization efforts through automated, white-labeled reports that speak your clients’ language.
Here’s what WP Umbrella lets you do:
- Highlight site speed and performance improvements with clear before-and-after metrics
- Include detailed performance reports in your maintenance packages that showcase security, uptime, backups, and updates
- Deliver scheduled, auto-generated reports on a weekly or monthly basis
- Customize reports with your branding: add your logo and colors for a professional touch
- Integrate key data points such as Google Analytics stats, uptime, and custom maintenance tasks for a full picture of site health
Clients love to see measurable improvements, especially when they tie directly to user experience and SEO.
Using Image Optimization as a Sales Hook
Image optimization is one of the easiest ways to demonstrate value before you’ve even signed a client.
Most websites you’ll audit are bloated with uncompressed images, especially if no one’s actively maintaining performance. That’s a low-hanging fruit you can use to open the conversation.
When prospecting, run a quick scan using a tool like PageSpeed Insights. You don’t need a full audit, just enough to spot the usual suspects:
- Huge images dragging down the page size
- PNGs used for photos instead of JPGs
- Missing next-gen formats like WebP or AVIF
Instead of diving into technical details, keep it simple. Let the data speak for itself. Show them how much of their page size is just images, how long their site takes to load, and how that affects mobile users and bounce rates.
Then position your offer around a fast, high-impact win. Frame it like this: you’ll optimize their existing images, set up automation for new uploads, and deliver measurable speed improvements.
This approach builds trust fast. You’re not just pitching; you’re already solving a problem. And once they see the performance bump, it opens the door to deeper retainers like ongoing maintenance, security, or SEO.
Summary
Image optimization across multiple websites doesn’t need to be painful.
With ShortPixel handling compression and WP Umbrella managing bulk installs and performance monitoring, you’ve got a powerful, scalable system.
You’ll save time, reduce errors, and deliver top-notch performance to every client, without logging into dozens of dashboards.
Set things up. Monitor the results. Let the numbers speak for themselves.
This is a guest post by Andrei Alba from ShortPixel.