Your Complete No-Code Guide to Building Modern Websites

Tired of vague “no-code” advice that doesn’t actually help you build websites more easily?
Read our complete no-code guide to building modern websites that stand out. Let’s dive in!
Step 1: Ideation and planning
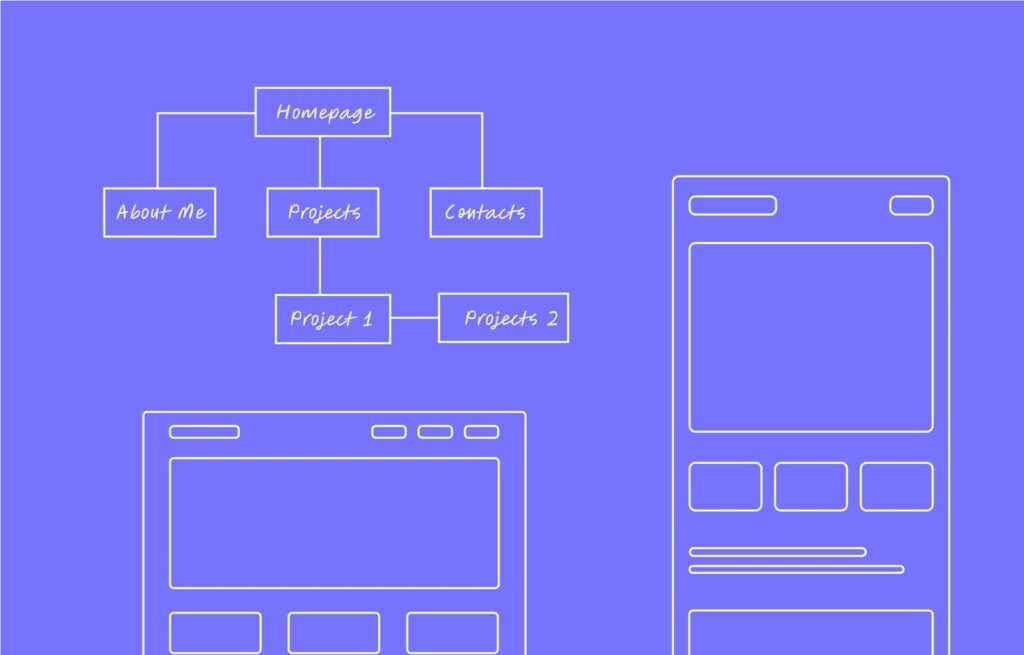
Every successful website starts with clarity, so before designing, map out the essentials:
- Purpose: Define your website’s purpose. Is it a portfolio, blog, business site, nonprofit, or something else?
- Audience: Identify your target audience and what they need from your website.
- Actions: Decide what actions visitors will perform, such as booking, subscribing to the newsletter, sending feedback, etc.
- Structure: Define which pages to include in your website, such as a home, works, services, blog, and more.
- Functionality goals: Identify essential features such as email subscriptions, contact forms, LMS, etc.
By planning ahead, you’ll pave the way for a smoother, faster, and more successful website-building journey.
Step 2: Choosing the platform
Once you’ve got the essentials down, the next step is picking the right platform.
From CMS like WordPress to various SaaS solutions, there’s no shortage of options, each with its own strengths and limitations.
WordPress, however, remains a top choice thanks to its open-source nature, extensive customization capabilities, and cost-effectiveness for building a wide range of websites.
However, there’s a catch.
Most traditional WordPress builders can’t deliver the modern designs users expect.
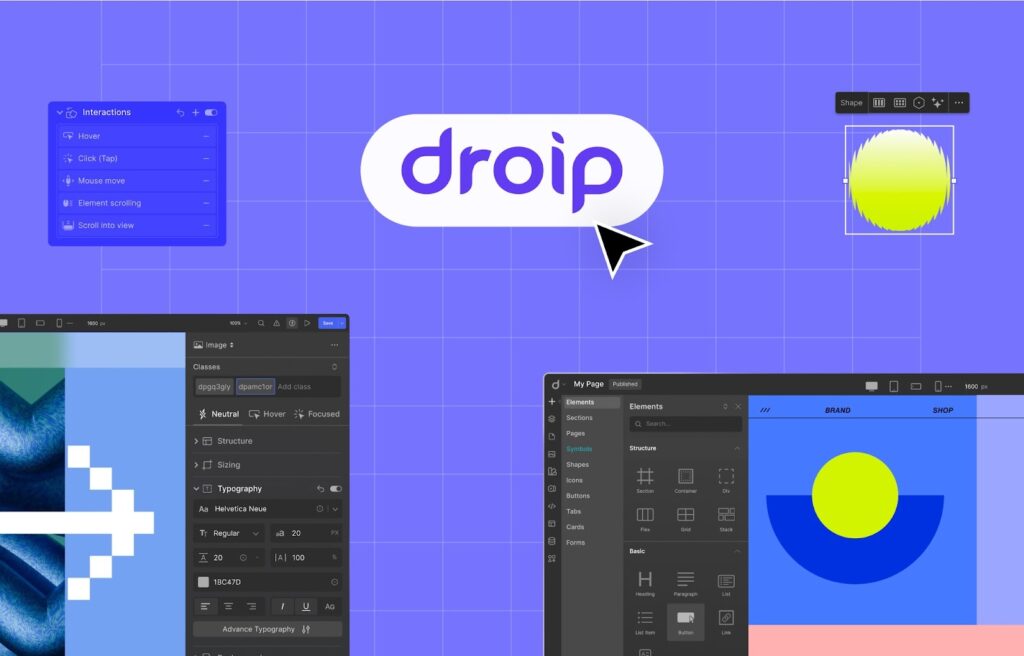
What you need instead is a modern, fully no-code visual website builder like Droip.
Droip combines the power of WordPress with the flexibility of modern design tools.
From dynamic content management and instant Figma to WordPress import to real-time collaboration, co-editing, and beyond, Droip offers a range of native capabilities that remove the need for extra plugins.
Combined with Droip’s free WordPress theme library for various niches, it’s an ideal platform for building your website.
Step 3: Setting up WordPress and Droip
Choose your hosting and domain
Start with the basics. Select a solid domain name and a reliable WordPress host that includes SSL and backups.
Choose a domain that’s short, easy to spell, aligned with your brand, and includes relevant keywords, if possible. Avoid numbers or special characters and use a fitting extension like .com, .net, or .org.
If you’re stuck, try a domain name generator for ideas. And when selecting hosting, focus on reliability, performance, and fair pricing.
Tips
Many hosts bundle domain registration with their plans, saving you the hassle of juggling multiple vendors (and the extra costs).
Install WordPress on your site
Once your domain and hosting are ready, the next step is to install WordPress for your new website.
To install WordPress, all you need to do is:
- Step 1: Download WordPress.
- Step 2: Create a database for your site through your hosting control panel.
- Step 3: Upload the WordPress files to your hosting server.
- Step 4: Finally, visit your website to run the WordPress installation script and follow the on-screen instructions to finish off.
Configure basic site settings
After installing WordPress, configure a few key settings to ensure your site is ready for visitors and search engines.
Site title & tagline: Set a clear site title and tagline to help visitors and search engines understand your website.
Site icon: Upload a recognizable logo or small image for browser tabs and bookmarks.
Membership: Enable this if you want visitors to register on your site.
Timezone: Set your local timezone for accurate timestamps and scheduling.
Permalinks: Use clean, SEO-friendly URLs. The “post name” option is a popular and recommended choice.
Secure your website
Next, secure your website with these essential steps:
- Use strong passwords: Ensure all user accounts, especially admins, use strong passwords.
- Use SSL: Enable SSL to encrypt data and authentication. Plus, boost search engine priority as a secure site.
- Store backups: Regularly back up your site and data to quickly recover from hacks, accidental changes, or server issues.
Use WP Umbrella to secure and back up your websites
WP Umbrella monitors for security threats every 6 hours, backs up your site on your schedule (daily, weekly, or monthly), and offers one-click restoration when things go wrong.
Install and activate Droip
Next, install the Droip WordPress builder:
Step 1: Go to the Droip website, create an account, and select the plan that best suits your needs. Then complete your purchase to proceed.
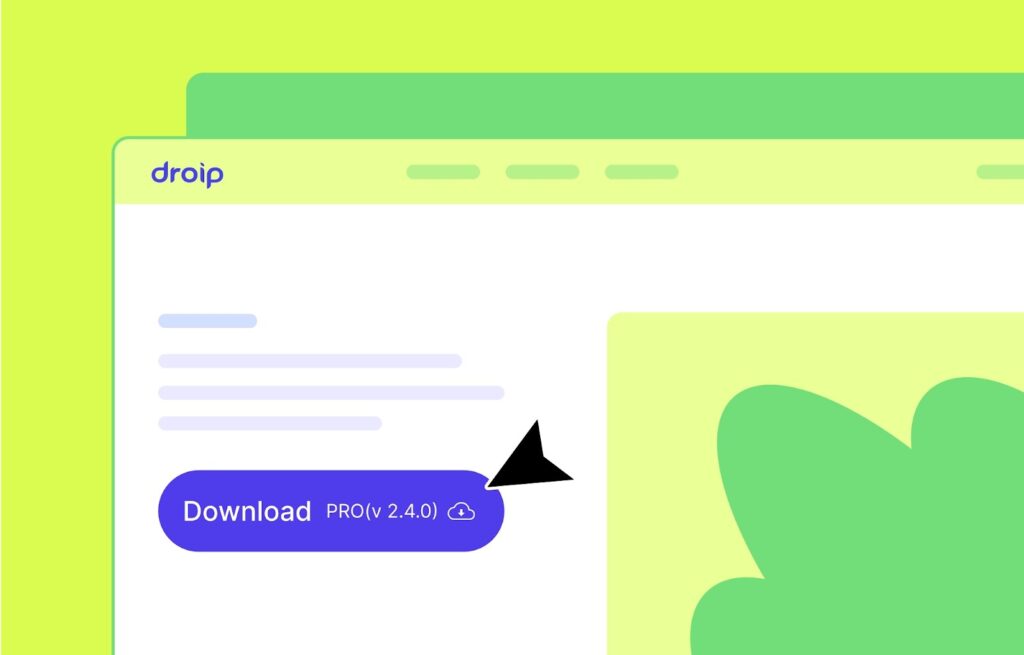
Step 2: Next, from your Droip account, head to Downloads, and save the latest version of the plugin to your device.
Step 3: On your website, go to WP Admin > Plugins > Add New > Upload Plugin and select the file you just downloaded.
Step 4: Click Install and then Activate to enable Droip.
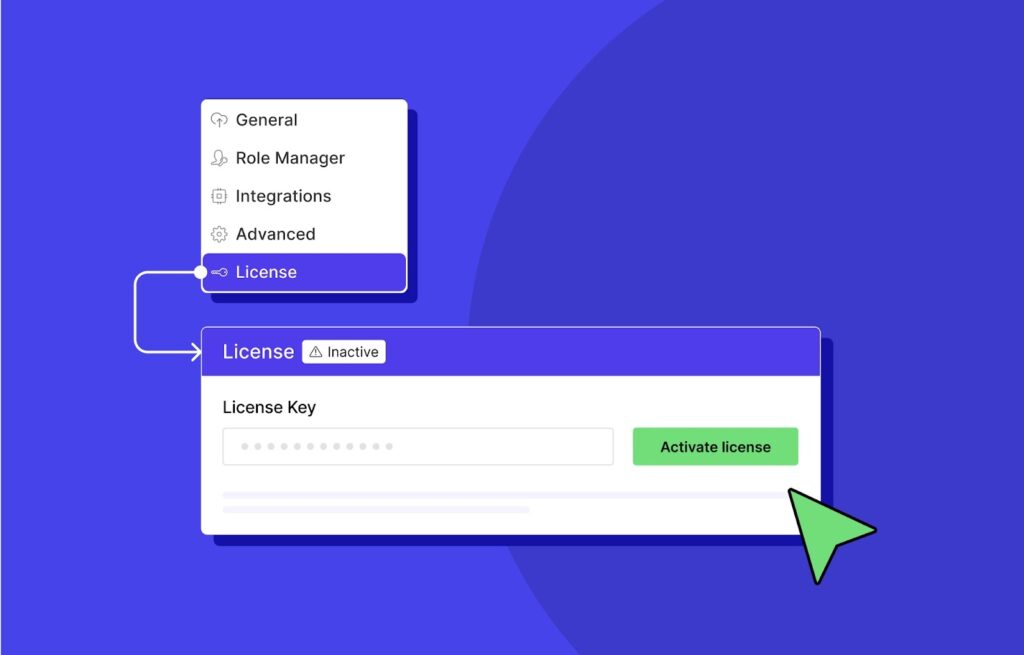
Step 5: Finally, go to Droip Account > Subscriptions > Licenses, add your site, copy the license key, and paste it under WP Admin > Droip Settings > License. Click Activate, and you’re done!
With Droip successfully installed, you’re all set to start building your website.
Step 4: Designing your website
When it comes to designing your website, you have three entry points in Droip:
Import from Figma to WordPress
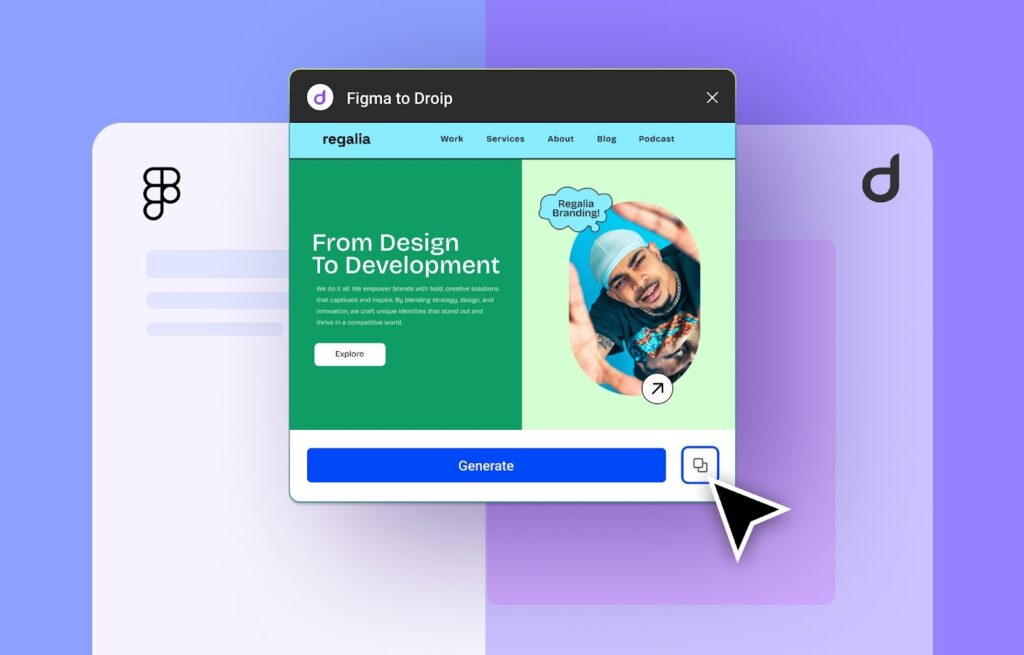
If you already have a design in Figma or prefer working there, Droip’s Figma to WordPress handoff tool lets you instantly turn your design into a fully functional WordPress page.
Your design comes to life as pixel-perfect and instantly responsive, eliminating the need for developer handoff or lengthy conversions. In just a few quick steps, your Figma design is ready to publish right inside WordPress.
Use ready-made templates & prebuilt sections
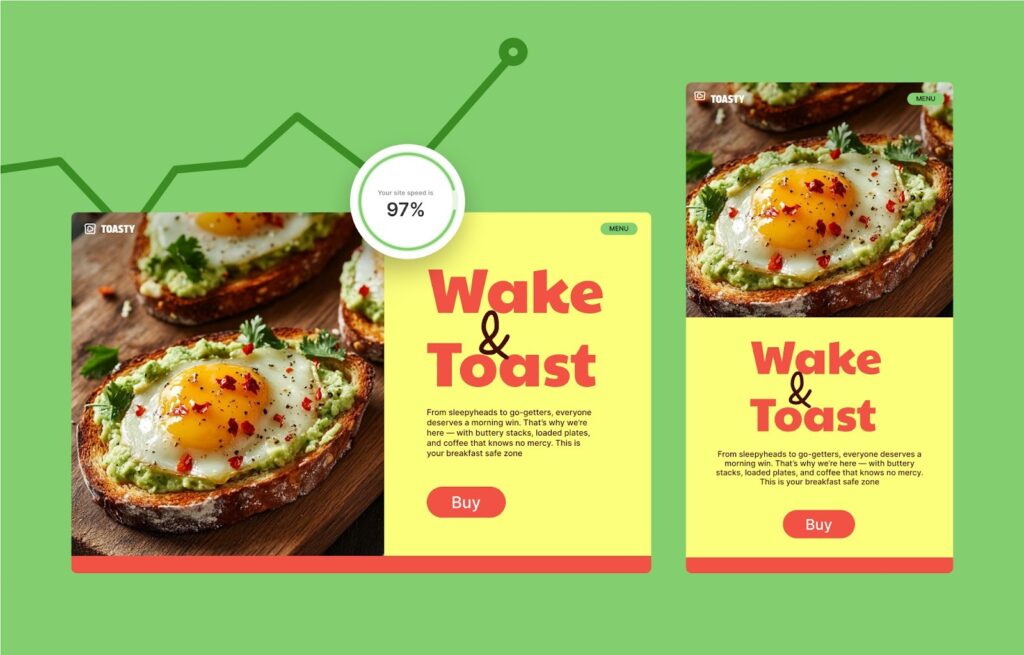
If you want to save time or skip starting from scratch, Droip’s library of free WordPress themes and prebuilt sections has you covered.
From portfolios and agency sites to restaurants and more, the library includes options for a wide range of niches, complete with fully customizable and scalable essential pages.
Easily fine-tune colors and typography to match your brand, and with unlimited breakpoints, scale your site as your brand grows.
Once imported, just add your content and you’ve got yourself a ready-to-launch website.
Build your site from scratch
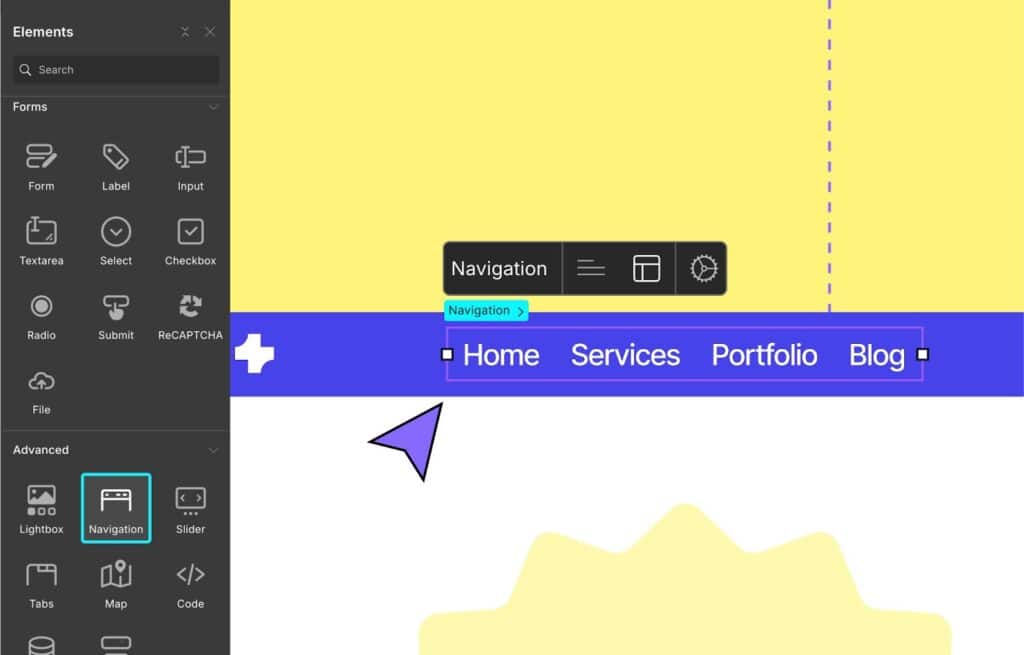
If you prefer building websites from the ground up, Droip offers that option too.
Start with Wireframes in Droip. These are structural layouts that provide a visual framework to map out your site’s flow.
Speaking of elements, the Droip Element Library includes a wide range of web design components from layout and content blocks to more advanced options like navigation, menus, tabs, and beyond.
More tools to enhance your design and workflow
Regardless of which entry point you choose, you can further elevate the website-building process using Droip’s powerful assistive tools.
Maintaining design consistency
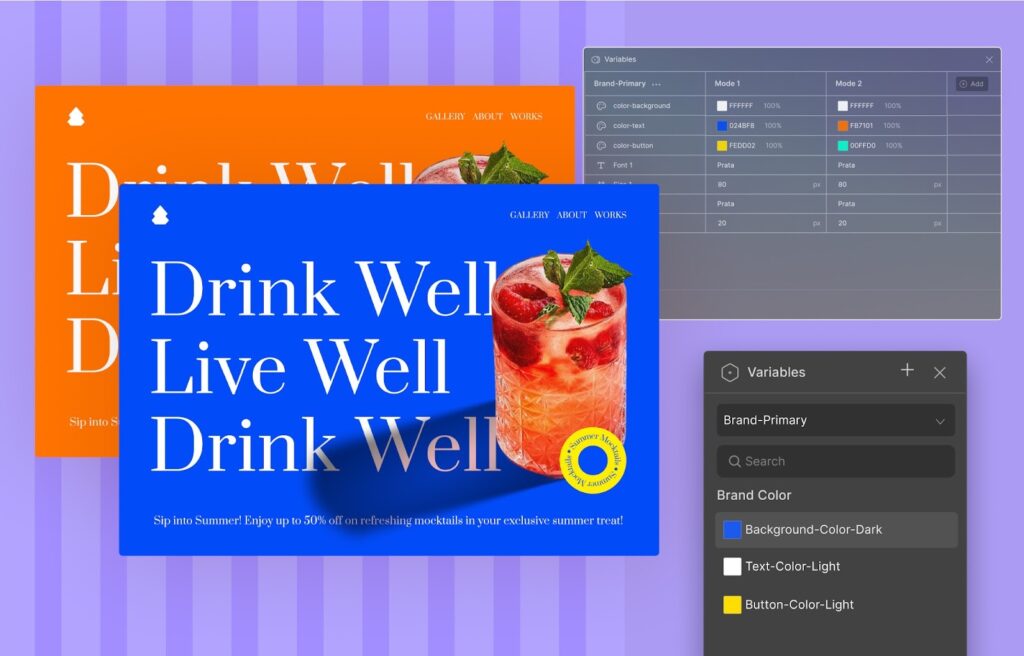
Keeping a consistent design across your website can be tough, especially with multiple pages.
With Droip’s Global CSS variables, you can define universal design rules for colors, fonts, and spacing. Change them once, and it instantly updates everywhere it’s used.
On top of that, Class-Based Editing lets you apply shared styling to multiple elements at once. Whether it’s buttons, cards, or text blocks, updating one class automatically updates all elements using it.
Together, they help you maintain a clean, unified design system that scales easily.
Access high-quality media with built-in integrations

Quickly source images through Droip’s integration with third-party image libraries like Unsplash & Pexels.
Once connected, you can access high-quality media directly within the editor. So not only does this make finding relevant images effortless, but it also streamlines the design workflow, helping you build websites faster.
Say more with less: elevate design with icons
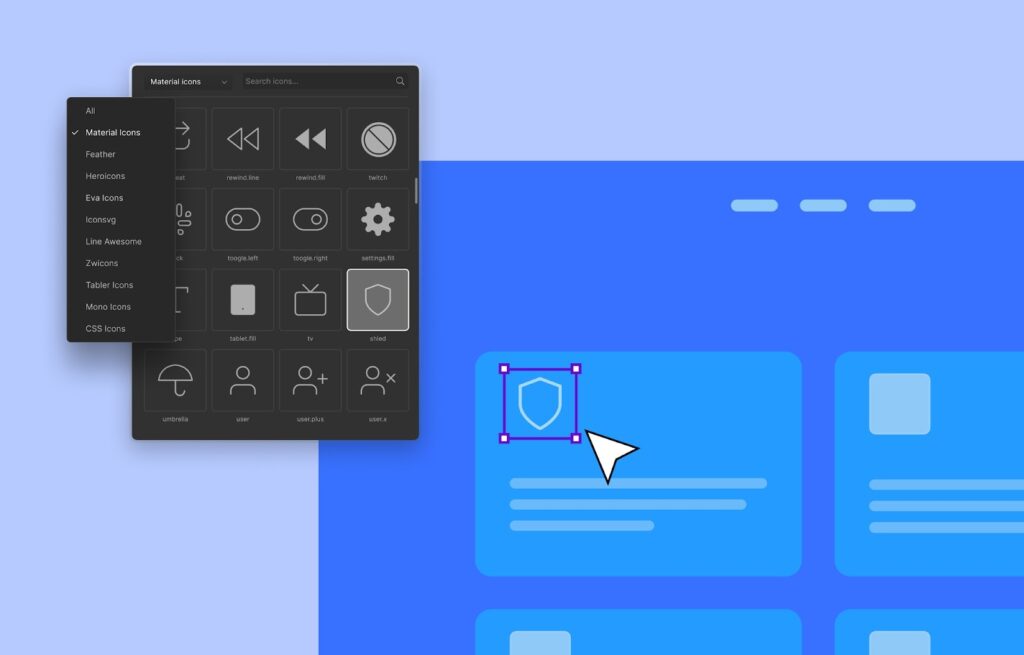
Reduce text clutter with Icons, a quick and clear form of visual communication that also enriches a website’s visual appeal and user experience.
In Droip, you can access a range of different options through its native Icon Library. Once added, these icons can be resized, styled, and positioned just like any other element, allowing you to maintain your design preference.
Use reusable components for consistent, efficient design
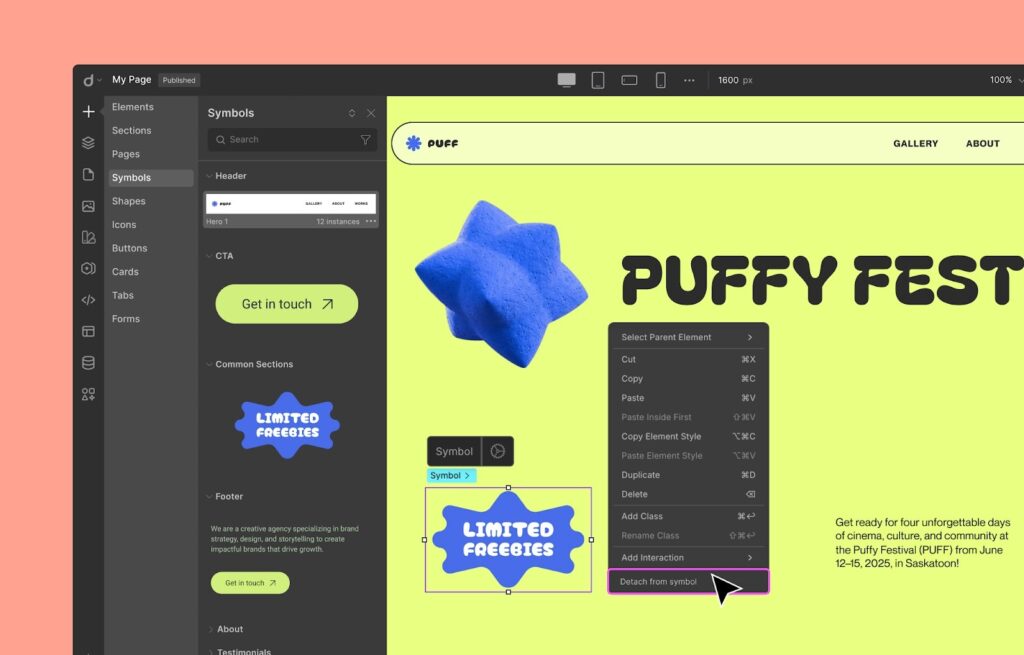
Recreating repetitive sections like headers, footers, CTAs, etc, wastes time and risks inconsistencies.
Instead, save these as Symbols, i.e., reusable components you can insert anywhere on your website. Then, to modify a design, simply update the parent Symbol, and the changes will apply to all other instances.
Step 5: Adding website functionality
Now that your website design concept has taken shape, including all the necessary layouts and branding, it’s time to go beyond the design and make it functional.
Dynamically manage and scale content

Managing structured content like blogs or portfolios can be challenging when handled manually.
However, if you’re using Droip, you can use its native Dynamic Content Manager to create and manage custom content types in WordPress without needing additional plugins like ACF.
Then, you can simply add your data once and display it dynamically through Collection lists and Templates, and any changes you make will automatically update across your site, saving time and keeping everything consistent and scalable.
Capture leads with forms & Form Data Manager
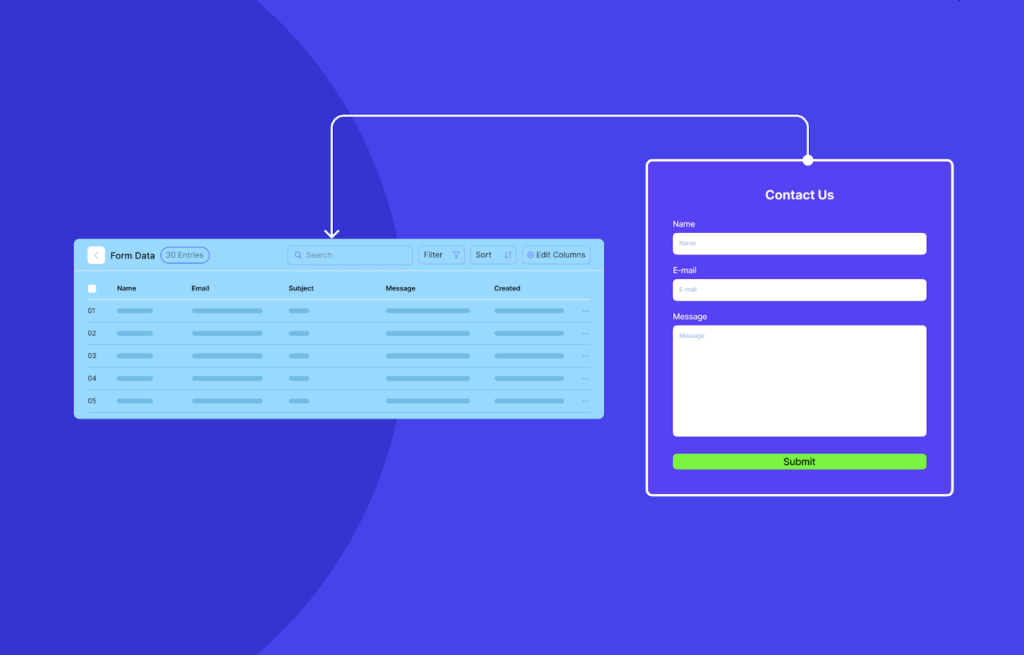
Next, you’ll want to create forms or refine the ones that already exist in your design to engage your audience and capture leads effectively.
Common types of forms include:
- Registration and login forms
- Contact forms
- Newsletter subscription forms
- Booking forms
- Feedback forms
With Droip, you can visually create forms for any purpose and even manage submissions using the built-in Form Data Manager.
Tips
Secure your forms in Droip by limiting submissions, restricting IPs, and connecting with reCAPTCHA integration to block spam and unauthorized entries.
Engage visitors through interactions & animations
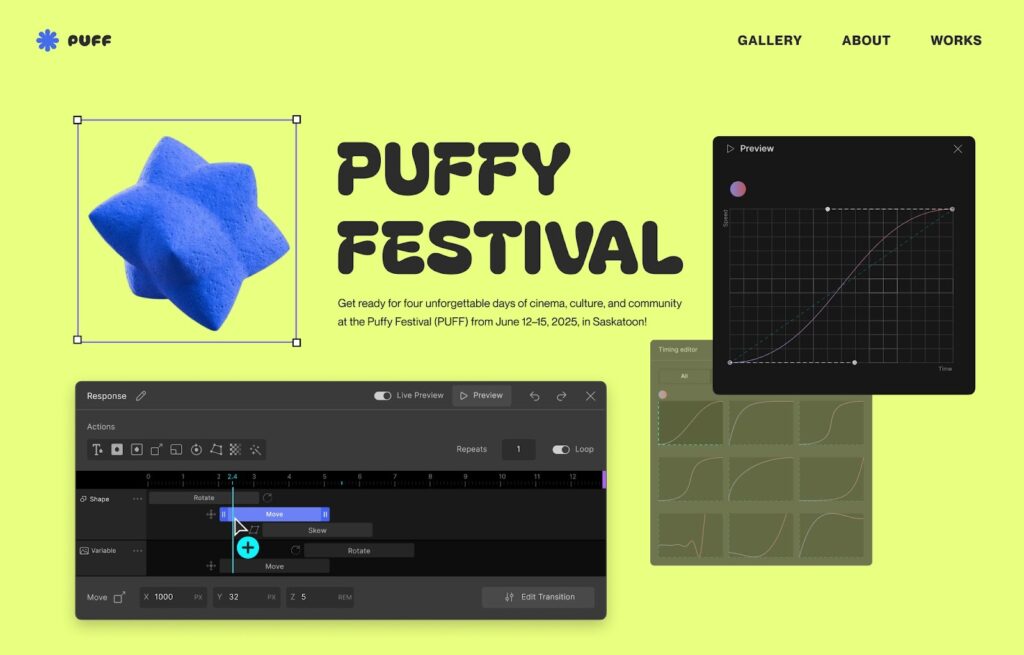
Engaging interactions and animations can make your website feel alive and help guide user attention effectively. In Droip, you can add smooth, professional-level motion effects without writing code through the:
Animation Library: Apply ready-made animation presets to elements for quick effects.
Custom Response Editor: Build complex, multi-layered interactions visually. This allows you to:
- Trigger multiple responses from one event
- Link different trigger and target elements
- Build staggered or sequential animations, and more.
Text Animation: Instantly animate text at the character, word, or element level. Then adjust style, timing, delay, etc., without writing any CSS, and get the effect you want in minutes.
Boost your site with powerful integrations
To extend your website’s functionality even further, explore Droip Apps, a built-in library of integrations you can connect to directly from the builder instead of having to manually install the plugin from the WordPress directory.
From here, easily integrate tools for automated email marketing, social logins, and live chat like Mailchimp, Google Login, Zendesk, and more.
Step 6: Crafting compelling content
Your design is the stage; content is the performance. Follow these best practices to successfully captivate your audience and strengthen your organic reach:
- Copywriting: Craft clear, action-driven copy that guides visitors. Use Droip AI to brainstorm or refine text directly in the builder.
- Media: Manage all assets through Droip’s native Media Manager. Use the Image Editor for quick tweaks and enable Image Optimization and Lazy Loading for faster performance.
- Scalable publishing: Use Dynamic Content to update structured data globally with ease.
- SEO Writing: Write keyword-rich content and set SEO meta for both static and dynamic pages within Droip.
With these in place, your content won’t just look great but also drive engagement, visibility, and long-term growth.
Step 7: Streamlining real-time collaboration
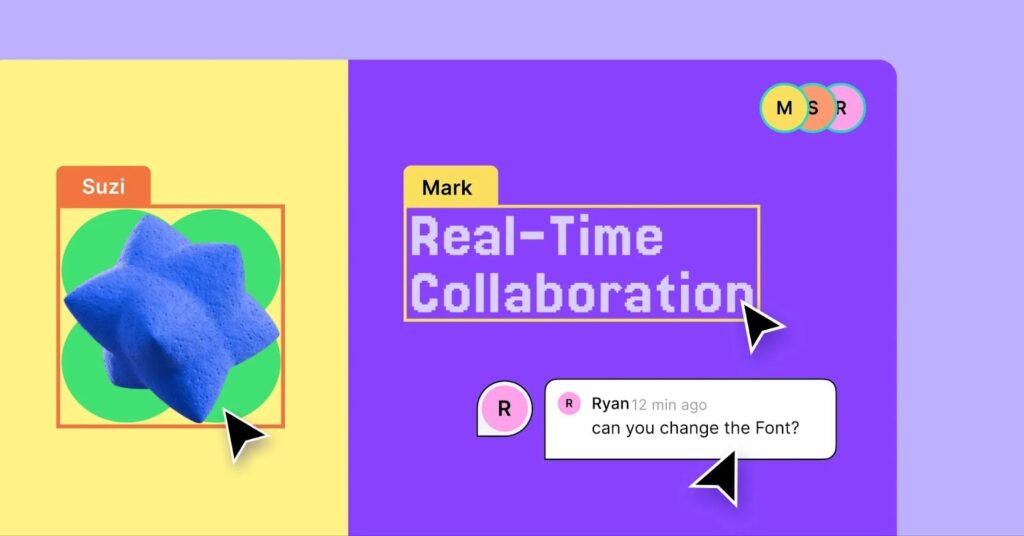
Building a website is rarely a solo mission. Designers, content creators, and clients often need to work together. Droip makes this seamless with real-time collaboration, so multiple people can:
- Design, edit, and review simultaneously (like Google Docs, but for websites).
- See changes live without overwriting each other’s work.
- Reduce back-and-forth with in-canvas comments.
- Give clients instant visibility into progress with a view-only link.
With everyone connected directly to the workspace, collaboration becomes faster, leading to a smooth journey from concept to completion.
Step 8: Enhancing responsiveness and accessibility
A great website must adapt across all devices and be accessible to everyone. Droip helps with this through:
- Unlimited breakpoints: Visually adjust your layouts for any device with unlimited custom breakpoints. Thanks to its hierarchical nature, changes made to a viewport automatically cascade down to smaller ones, simplifying responsive adjustments.
- Accessibility best practices: Use proper heading hierarchy, descriptive alt text, and color contrast checks using Droip’s built-in tool for inclusivity.
- Live Preview: Instantly test and tweak your site across devices in real time using Preview.
Using these Droip tools, create a responsive, user-friendly website that works perfectly for all visitors.
Step 9: Running tests and optimizing performance

Your WordPress website is complete, but before you hit publish, it’s crucial to test and optimize every aspect to ensure a flawless experience for visitors:
- Cross-browser testing: Ensure it works smoothly in Chrome, Safari, Firefox, and Edge.
- Performance: Enable caching, image optimization, and test loading speeds.
- SEO & schema: Add meta tags, open graph data, and schema markup directly in Droip.
- Site audit: Use Droip’s built-in audit to spot missing links, metadata, alt-text, etc.
- User testing: Have real people test navigation, forms, and checkout processes.
Step 10: Launching your site and driving traffic

Once your site passes all checks, you’re ready to go live. But before that, run a final launch checklist. Double-check the essentials, such as the SSL certificate, analytics, backup, caching, and domain DNS setup.
- Publish your site: Switch from staging to production easily with Droip’s project import-export functionality.
- Promote your launch: Announce your launch via social media, email campaigns, SEO, and ads to reach your audience and boost visibility.
- Track analytics: Monitor with Google Analytics or native reports to track traffic and conversions.
Step 11: Scaling and maintaining websites
A successful needs to evolve through:
- Continuous updates: Keep content fresh with consistent updates and new posts to boost engagement and SEO.
- Scaling up: As your brand grows, expand your site using Droip’s Dynamic Content Manager.
- Security & backups: Protect your site with WP Umbrella. Use it for uptime and performance monitoring, safely updating plugins with visual regression, bulk updating plugins, theme, and core, tracking vulnerabilities, creating backups, and quickly recovering in case of issues.
Final Thoughts
From idea to launch, this was your complete no-code guide to building modern websites. As you can see, creating a website today doesn’t require complex coding or juggling countless external plugins.
With the right tool, like Droip, and a clear plan, you can go from concept to completion faster than ever.
This is a guest post by Habiba Rahman from Droip
