How to Move WordPress from HTTP to HTTPS: The Complete Guide Updated in 2023

Because we do pretty much everything online these days, more and more people are getting things done online.
You don’t want to cook – order food online.
You don’t want to drive – use the Uber app.
You want to redesign your living room – order furniture online.
Etc, etc, etc.
It is a fantastic thing that makes our lives easier.
With all the positivities Internet brings, there is a but. The dark side of these things is thefts and unwanted entries to our sensitive, personal information.
We share our valuable information there, like bank card numbers, authentication details, log-in details, etc.
Hence, we strive to protect ourselves best way possible. We must have a place where we can do our things safely, and we cannot express how it is essential for someone who owns a site on the web that requires entries of some sensitive information. Those websites bring income to someone and are something that represents someone’s business.
And the best and easiest way to do that is to use the HTTPS protocol.
Without further ado, we will cover how to move your website from HTTP protocol to its safer relative HTTPS to protect yourself and others.
HTTP vs HTTPS
What HTTP means?
HTTP stands for Hypertext Transfer Protocol and represents the protocol of transferring data over a network.
When the user interacts with the website that uses HTTP as a standard protocol, the request of getting the content will go through HTTP as a ‘get’ request, after which the specific content appears on the page.
Since it represents only the protocol for transferring the data without any encryption or protection whatsoever, the third party or a person can easily see what the person did on the page.
And if they leave some sensitive private information like bank account numbers or passwords, they can easily take them as plain text and do whatever they want with them.
Four years ago, tech giant Google declared every website not using HTTPS protocol was not secured.
The difference between HTTP and HTTPS
We can recognize HTTPS with a (green) padlock next to the site’s domain name and the ‘HTTP://’ in the address bar. HTTPS represents HTTP but with encryption. The only significant difference between these two is that HTTPS uses SSL to encrypt those requests and responses while HTTP uses TCP.
When a web page is entirely safe and secure, it has an HTTPS prefix; it has an HTTP prefix when it isn’t or is just partially safe and secure.
SSL Certificate
SSL is a short-term Secure Sockets Layer, and its primary purpose is to keep the connection between you and the website, or between two or more systems, safe. It protects third parties and unknown systems from reading personal and sensitive information, such as private names, dates of birth, credit card information, and other confidential information.
It was built 25 years ago and has since been enhanced through several versions, including the original SSL and improvements and TLS, which stands for Transport Layer Security, and its updates.
TLS is now widely used as a standard, and its current version is 1.3, released in 2018.
Today, when we do everything online, it’s vital to determine with whom we’re sharing our data and information. For that purpose, website owners must get a digital SSL certificate, which guarantees that the connection is safe, protected, and encrypted. They authenticate the security of a website, the security of the connection between the website and the server, and the integrity of a website.
SSL works by creating and combining cryptographic key combinations with the identities of websites and end-users. Each key has two combinations – private and public. When attempting to acquire an SSL certificate, the third party that issues it will do a rigorous and detailed inspection of the website to issue the certificate.
SSLs are today a must-have in the internet business, and you should take them seriously.
When acquired, your website will instantly receive an HTTP sign next to the domain name, which means every communication between the end-user and your site will be encrypted, authenticated, and integrated. When approaching these websites, you can be assured that every confidential information you share will be safe and encrypted without any unwanted views. You can freely share your credentials, credit card numbers, personal names, etc., without a doubt that your information will arrive at the place you intended them to.
Padlock and HTTPS word in the search bar means you’re safe on the website.
Its aim is to ensure that any data exchanged between users and websites or between two systems remain unreadable. It encrypts data in transit using cryptographic algorithms, preventing hackers from gaining access.
Ready to boost your productivity, impress your clients and grow your WordPress agency?
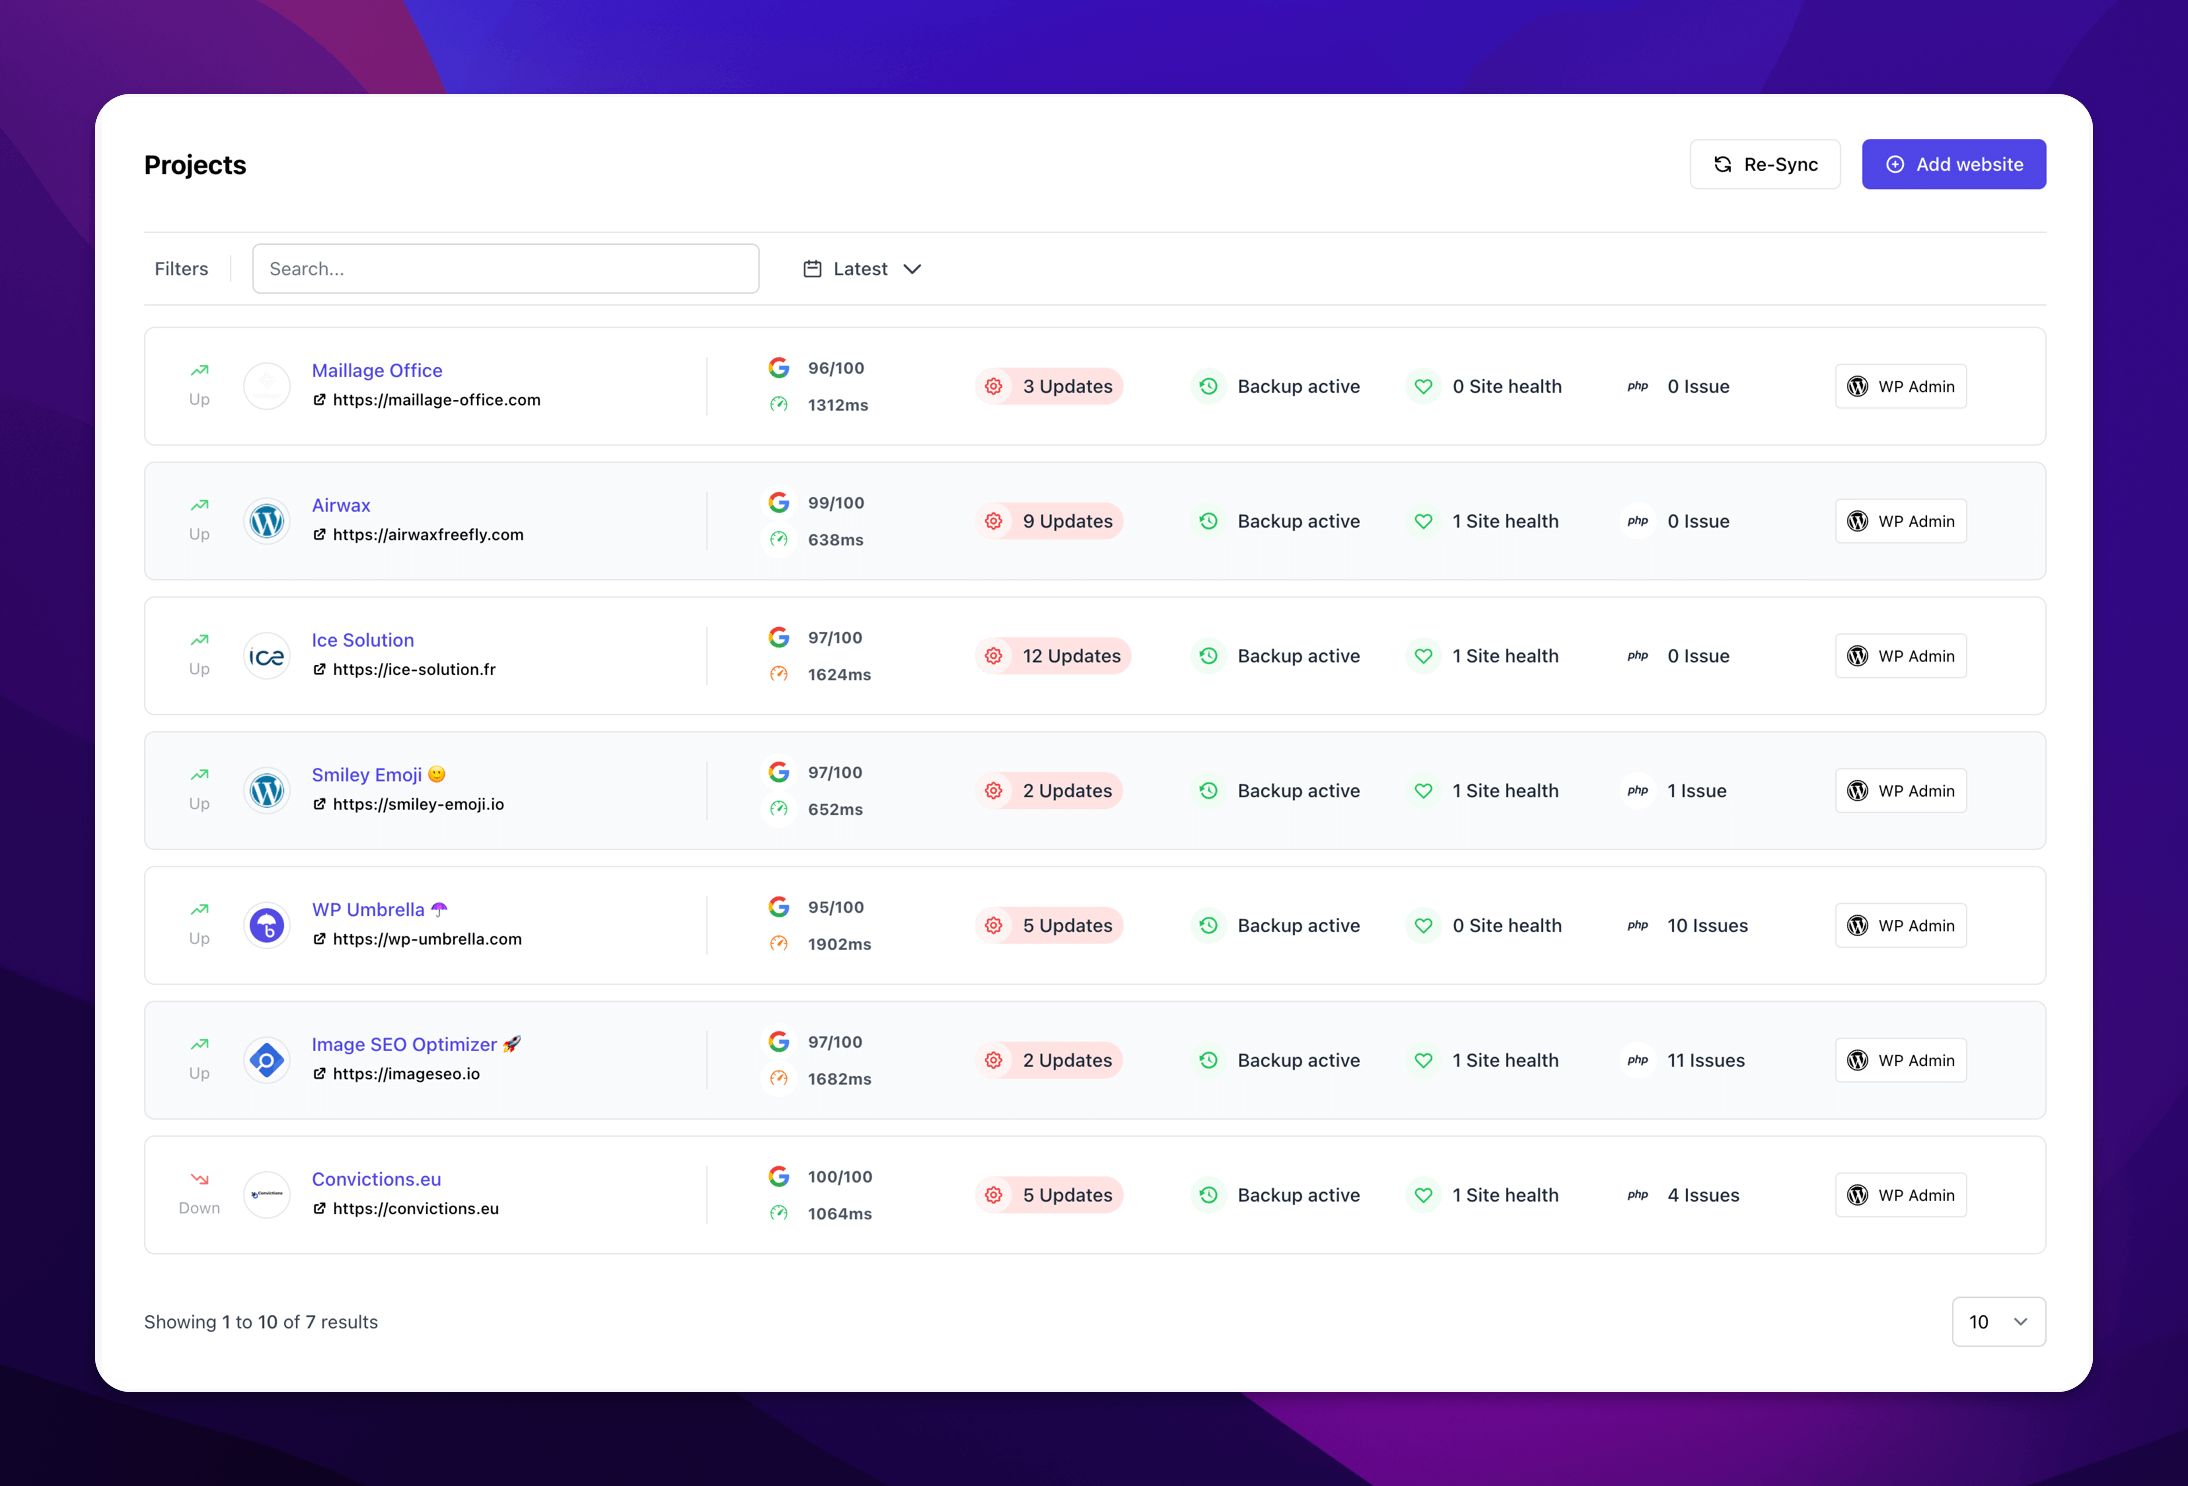
Install WP Umbrella on your websites in a minute and discover a new way to manage multiple WordPress sites.
Get Started for free
Steps in moving the site to HTTPS
1. Backup Your Website
As every other tech experienced person, we fully recommend doing backup no matter what, in this particular situation, your website, with the fact that backup can be a lifesaver in every misfortune that can, unfortunately, happen when developing a website.
When you are indulging in migration from HTTP to HTTPS, backup is the first step you should take.
Hopefully, you can make backups in just one click with WP Umbrella.
2. Implement SSL
Now when we successfully gained our valuable SSL certificate, it is time to implement it on our WordPress website. We would like to friendly recommend one of the best SSL tracker plugins for your website – WP Force SSL.
WP Force SSL is a comprehensive and effective plugin that provides everything you’ll need to keep track of your website’s SSL certificates!
Everything happens in the admin dashboard, therefore, it’s a modified and optimized program, so you don’t have to worry if it will affect your page speed.
It cooperates with Let’s Encrypt, a page that lets you gain SSL for free! You can keep track of all of your linked websites, SSL licenses, and monitors with it. You can track every aspect of them via the dashboard, avoiding the need to log in to each one separately.
In the next lines, we will cover each of the features this plugin offers slightly deeper.
WP Force SSL Overview
A Centralized Dashboard is a core feature of this plugin as it allows you to easily manage all the necessary settings of the certificate. Control all your purchases, licenses, and websites, and monitor a dashboard from one place.
SSL Monitors is a place that keeps detailed information about the certificate, its expiration date, information about the party that issued the certificate, as well as who it was issued for. One cool thing about this one is that it constantly keeps you informed about any particular thing that may happen. One of the SSL Monitors page tabs shows the list of emails that you provided plugin to inform about any unconventionality.
Content Scanner is a unique feature that jumps in when you have multiple sites to take care of. It allows you to check the whole website for faults on each page. When the tool eventually finds any errors, it will automatically get to work and resolve them. However, this option can be changed to manual so you can do the fixing job yourself.
A Centralized Dashboard is a core feature of this plugin as it allows you to manage all the necessary settings of the certificate easily. Control all your purchases, licenses, and websites, and monitor that from one place – a dashboard.
3. Internal Links Updating
The first thing we need to do is to update our WordPress URL from HTTP to HTTPS. All resources must be loaded via a secure connection (HTTPS) in order for the green padlock to appear in our browser’s address bar. Images, CSS, and JavaScript files are all things we’re talking about.
The error that denies the appearance of the padlock is mixing content. It is actually when the browser loads some previously mentioned resources through HTTPS, and some through the old one, HTTP.
A few good WordPress plugins make your migration easier, such as WP Migrate DB. What is great about this software is that it can save you a lot of time updating the links. You can simply enter the specific site address from the database and replace it with the new URL.
4. Set-Up 301 Redirections
301 redirects inform search engines that your site has moved to HTTPS and that they must index as per the new protocol. It is one of the most important steps, especially if you don’t want your SEO ranking level to decrease.
Creating a 301 redirect file is an easy thing to do. Simply open the text editor software, whichever you use, might be Notepad, for instance, and type Redirect 301 / http://www.example.com. Save it as a .htacess file and upload it to your webspace.
However, it can be done via another great plugin, Really Simple SSL, that will do the job for you (specifically, in this case, it will set up 301 automatically). With this step being done, users will now keep using your website in the new version.
5. Update Google Search Console
This step is unavoidable if you want Google to keep indexing your page and recommend it in user’s searches. Log in to your Google Console Dashboard, and add the new, secured version of your webpage that is now functioning on HTTPS protocol.
6. Testing
After you are done with the steps above, the job isn’t finished yet. Switching to HTTPS might cause problems with plugins, APIs, resources, and other features.
Take your time, go through your website thoroughly for a few hours and test each area. Your goal is to check that each page loads properly.
If you did everything right, your homepage would be decorated with the green padlock next to the domain name in the address bar.
If you haven’t done things properly, the padlock might be red, which indicates some files are loading in an unencrypted connection, and you should check it out.
Conclusion
With HTTPS becoming a security standard, your website must be secured with this protocol.
Not just will it improve the security we mentioned so many times in this article, but it will improve the end user’s experience; they will surf through it with confidence and easiness without having to worry if they could be the next data theft victim. HTTPS brings some SEO rankings upgrades to the table, as well.
