Resolving WordPress SSL Not Working Issues – Easy Fixes
Struggling with SSL issues on your WordPress site? This guide walks you through solutions to secure your WordPress website easily.

Are you struggling with a dysfunctional WordPress SSL certificate?
If you have recently moved your WordPress website to HTTPS and are experiencing issues, you are not alone. Configuring SSL certificates is a crucial step in establishing a secure environment for your WordPress website.
SSL (Secure Sockets Layer) certificates are essential for any WordPress website. They secure data transmitted between a user’s browser and your server.
SSL certification is crucial for user trust and search engine optimization, as Google now flags websites without SSL as “Not Secure.”
In this guide, we’ll explore the common SSL issues in WordPress and provide step-by-step solutions to troubleshoot errors like “WordPress SSL not working,” “SSL certificate errors,” and “WordPress HTTPS issues.”
What is an SSL Certificate?
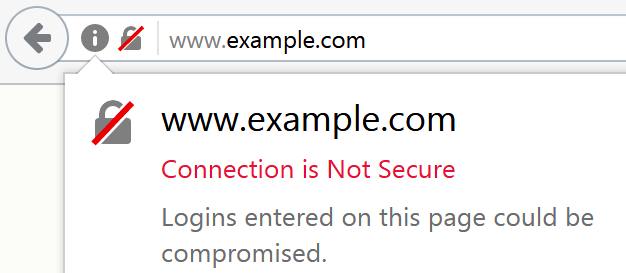
An SSL certificate encrypts data between the browser and the server. With SSL, your website’s address changes from HTTP to HTTPS, showing users the famous padlock icon in the browser bar.
When SSL isn’t configured properly, however, visitors may see warnings such as “Your connection is not private,” which can drive away traffic.
When you enable SSL/HTTPS, you’re basically encrypting the data transmitted between your users’ browsers and your server. SSL certificates verify your website’s identity, providing your visitors with a secure experience.
Steps to Install SSL Certificate:
1. Get an SSL Certificate: Check if your hosting provider offers a free SSL certificate. If not, you can use a plugin like WP Encryption to generate one via Let’s Encrypt.
2. Update WordPress Settings: Go to Settings > General in your WordPress dashboard. Update both “WordPress Address (URL)” and “Site Address (URL)” to include https:// at the beginning.
3. Force HTTPS with Plugins: If you’re new to SSL, plugins like Really Simple SSL can automate the HTTPS setup, handling redirection and basic configurations without editing code.
Common SSL Issues & How To Fix Them
To make things easier, we’ve broken down the process into individual steps. Don’t worry if some sections appear a bit technical. By carefully following the instructions, you’ll be able to resolve the ‘WordPress website not secure‘ warning effectively. But before diving in, it’s crucial to back up your WordPress website.
Monitor, backup and secure your websites with WP Umbrella – SSL Certificate monitoring included.
Install WP Umbrella on your websites in a minute and discover a new way to manage multiple WordPress sites.
Get Started for free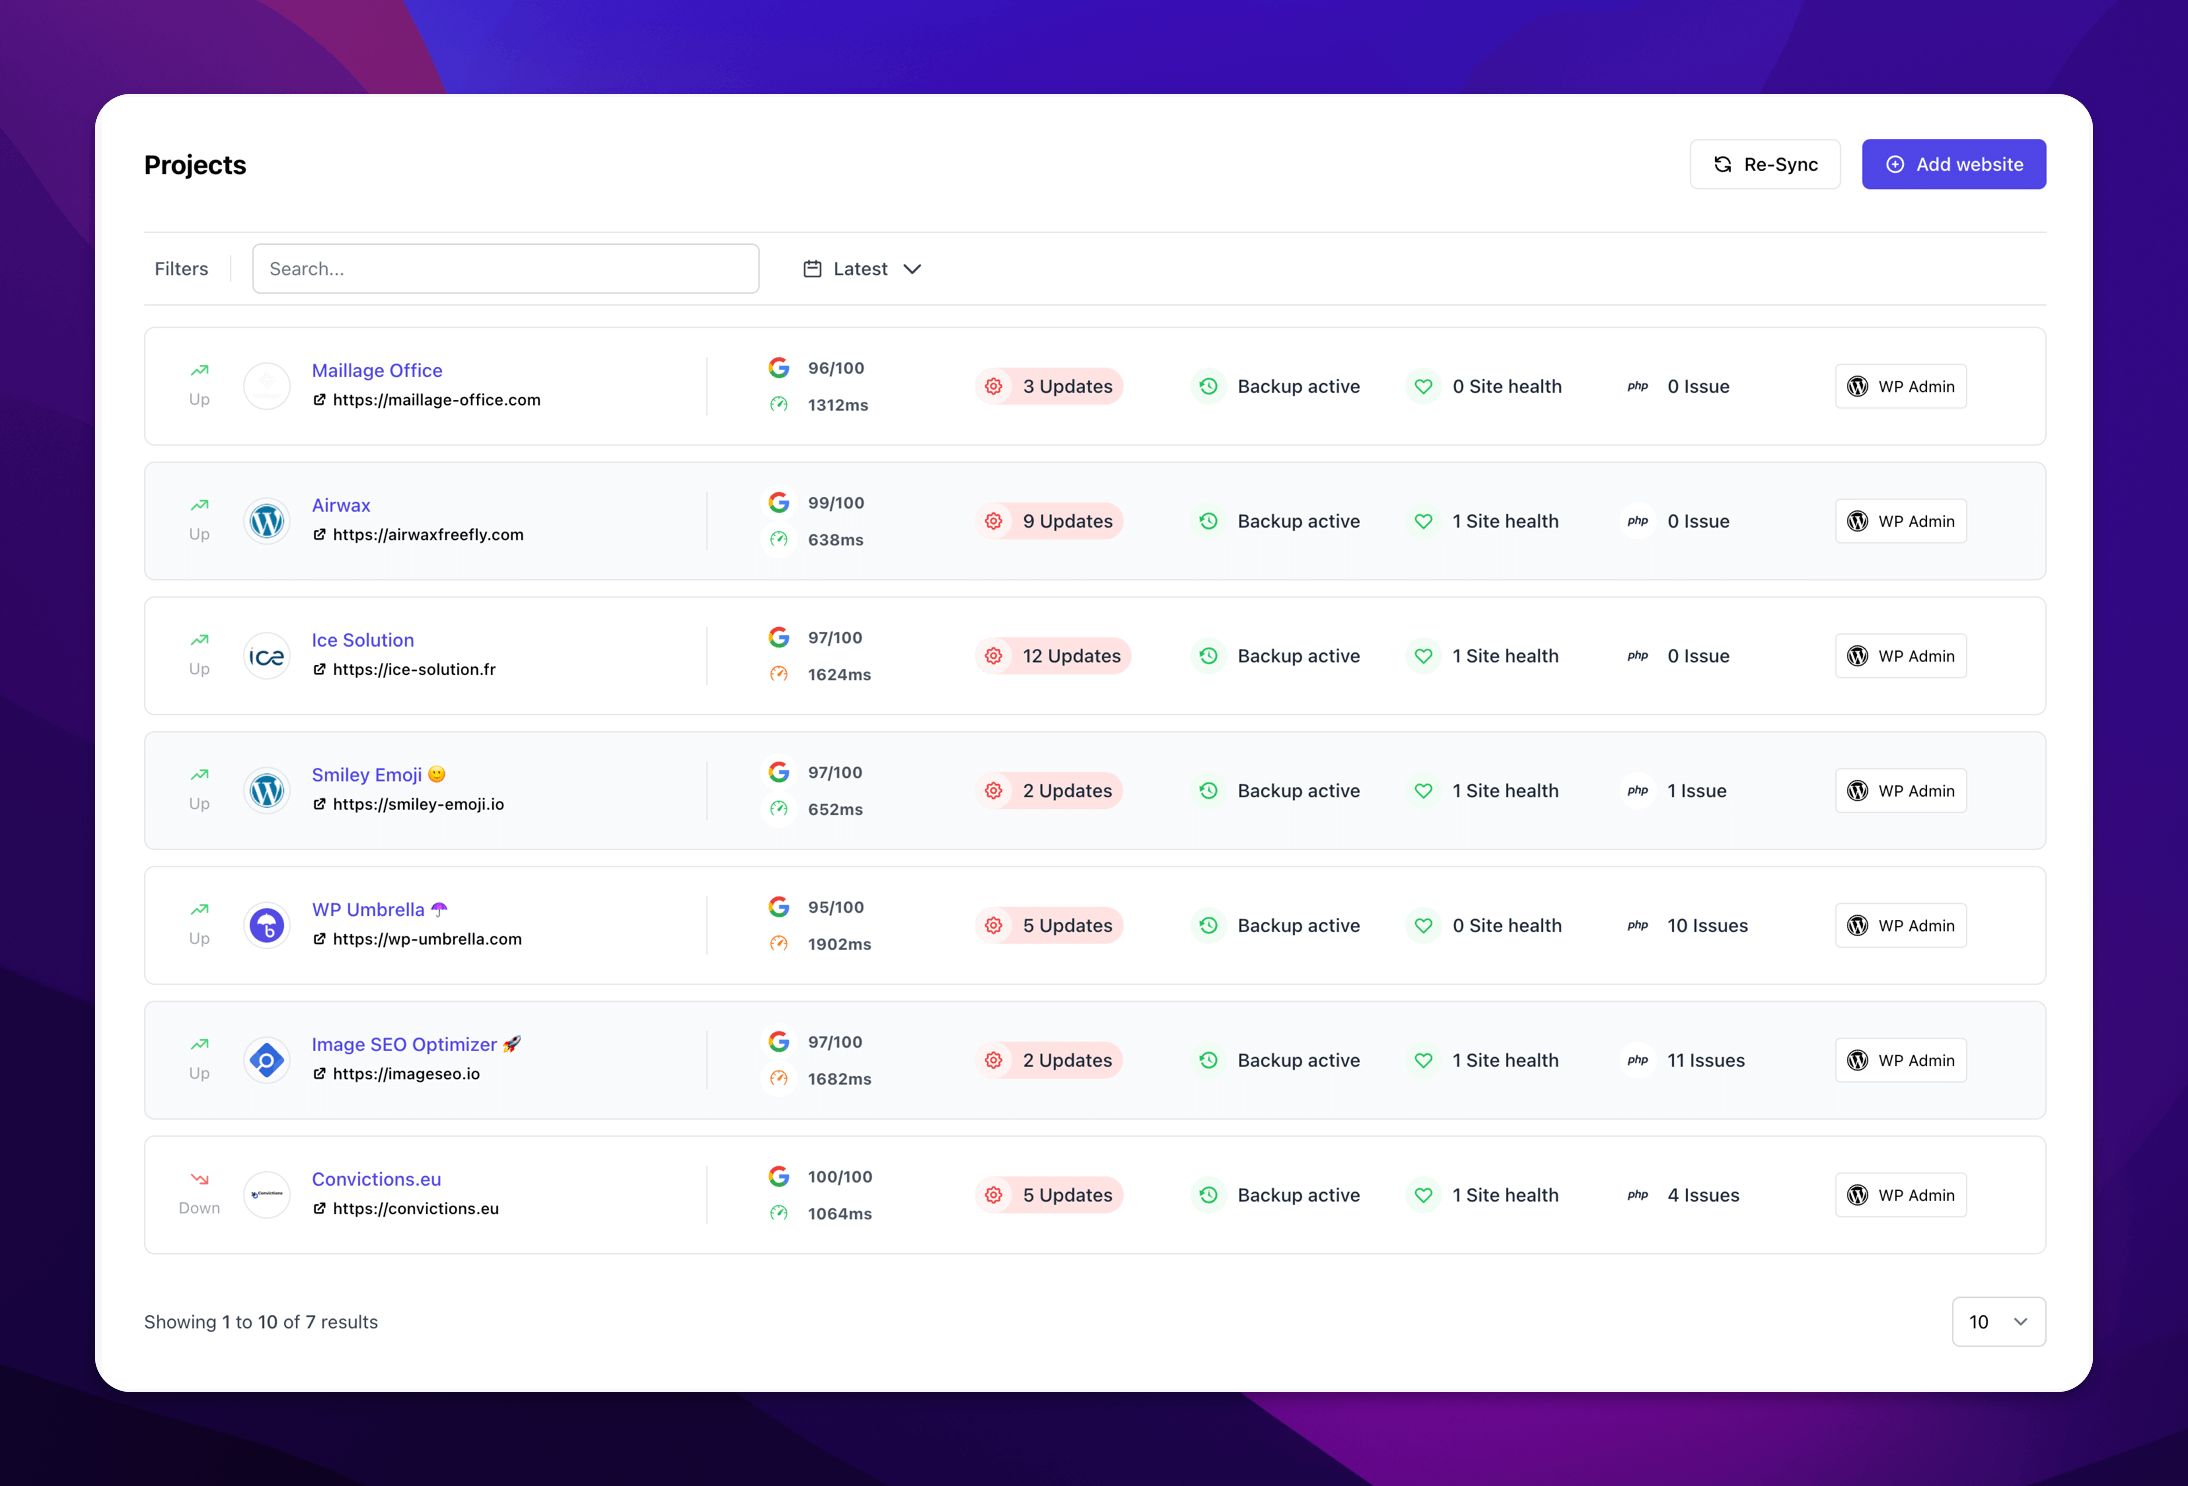
Step 1: Get Your SSL Certificate Up and Running To Secure WordPress
Installing an SSL certificate is intimidating for most people, and in the past, they would have had good reasons to worry.
Since Let’s Encrypt was created, things have drastically changed. With Let’s Encrypt, every website can get an SSL certificate free of charge.
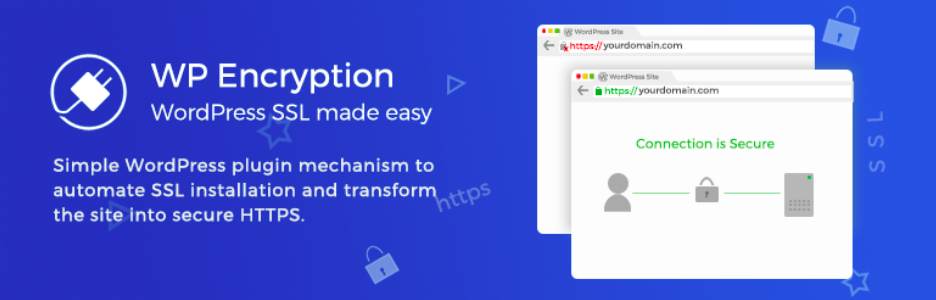
If you are not confortable in setting-up Let’s Encrypt, you can use WP Encryption to generate free Let’s Encrypt SSL certificate for your WordPress site and force SSL/HTTPS site wide, fixing insecure content & mixed content issues easily.
WP Encryption directly redirects links From HTTP to HTTPS, so you don’t have to do this painful part either.
Another alternative to Let’s Encrypt is WP Force SSL. The PRO version includes more than 14 SSL tests, among other things. WP Force SSL makes it simple for users to switch from insecure HTTP to secure HTTPS and repair SSL issues without having to touch a line of code.
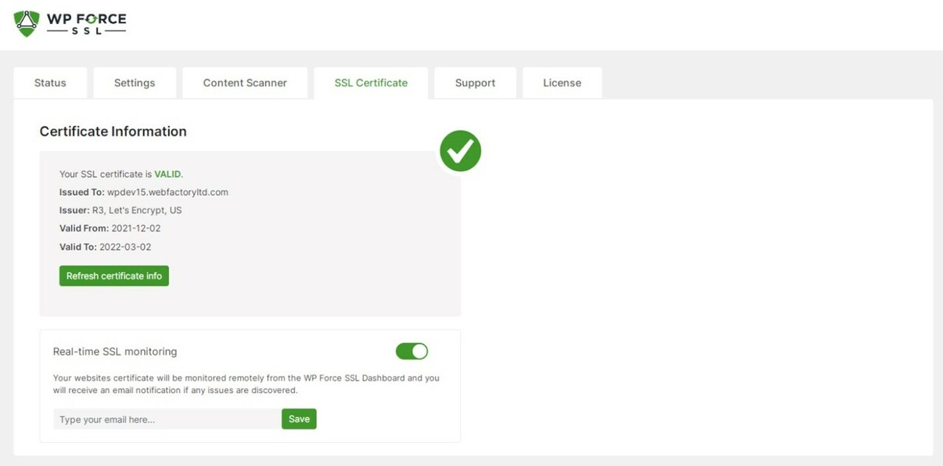
The plugin provides an SSL certificate validation tool that checks to see if the SSL certificate is legitimate, completely installed, and up to date before allowing access to the website. WP Force SSL is totally compatible with all of the themes and plugins that are currently available on the market.
Step 2: Fix NET::ERR_CERT_INVALID Error
You may receive this error message in Google Chrome. These warnings may appear differently in other browsers, but they all signal that the connection to your website is insecure.
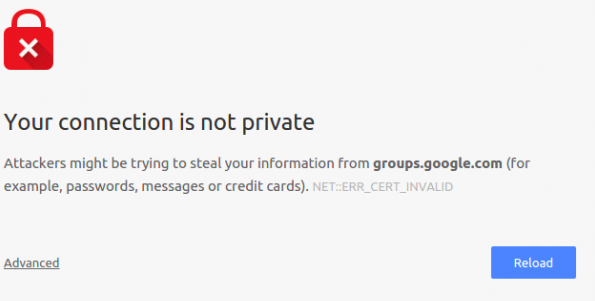
This error message indicates that a user’s browser has not accepted the certificate presented by the website. A number of factors could lead to this:
- The SSL certificate is assigned to a different domain or subdomain.
- There is no longer a valid certificate.
- Your browser does not recognize the issuer of the certificate.
You may contact the WordPress hosting provider who installed your SSL certificate to fix the issue if you bought it and asked them to do the installation.
If the SSL certificate was manually installed, try reinstalling it or contact the SSL certificate provider support for help.
Step 3: Fix Mixed Content Errors After Moving WordPress to SSL / HTTPS
Mix-content errors can occur when source files (images, scripts, or stylesheets) are still loaded using insecure HTTP protocol in URLs.
In that case, the padlock icon will not appear in the address bar of the website.

WordPress mixed content errors can be fixed with a plugin like WP Encryption or Really Simple SSL.
However, if you have enough time and knowledge, I’d recommend you to fix the mixed content error manually: this more effective and performance-enhancing.
The first step that you need to take is to check that HTTPS is enabled in WordPress.
In Settings » General, you need to ensure that WordPress Address and Site Address options feature HTTPS URLs.

URLs that begin with HTTP should be changed to HTTPS. Make sure you click the save changes button to save your settings.
The next step is to locate old HTTP URLs in your WordPress database and replace them with the new HTTPS URLs.
Install and activate Better Search Replace plugin to get started.
Once activated, you can access the Better Search Replace page under Tools » Better Search Replace. You need to enter your website’s URL with HTTP in the ‘Search’ field.
Afterward, in the ‘Replace’ field, enter the URL of your website with the https prefix.
The plugin will now update URLs in your WordPress database.
If you are still experiencing mixed content errors, then you must check your theme and plugin URLs. To isolate the resources responsible for the error, you will need to use your browser’s Inspect tool.

Once identified you need to manually update the URL directly in the plugin/theme files.
You can also contact the theme developer and ask for an update if you can’t find them.
Step 4: Fix Too Many Redirects Errors After Moving to SSL / HTTPS
You can force SSL / HTTPS for the admin section by entering the following code into your wp-config.php file:
define('FORCE_SSL_ADMIN', true);Unfortunately, this setting alone may cause ‘Too many redirects’ errors in some scenarios.
If this happens to you, you must add the following code just before the line that says “That’s all, stop editing! Happy blogging.”
define('FORCE_SSL_ADMIN', true);
if (strpos($_SERVER['HTTP_X_FORWARDED_PROTO'], 'https') !== false)
$_SERVER['HTTPS']='on';
Step 5: Fix WordPress HTTP to HTTPS Redirect
Unless you tell WordPress, HTTP requests aren’t automatically redirected to HTTPS. When you use a plugin like WP Encryption or Really Simple SSL, it will handle redirects automatically.
In any other case, you will have to set up redirects manually.
Your .htaccess file should include the following code to enable HTTPS redirection.
<IfModule mod_rewrite.c>
RewriteEngine On
RewriteCond %{HTTPS} off
RewriteRule ^(.*)$ https://%{HTTP_HOST}%{REQUEST_URI} [L,R=301]
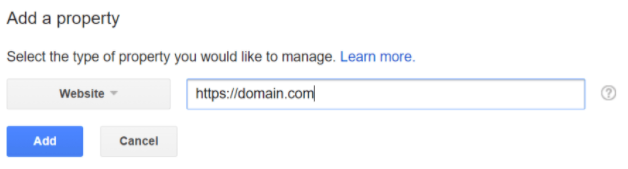
</IfModule>Step 6: Update Google Search Console
It’s time to let Google know that you are using HTTPS for your WordPress site now that you have installed your SSL certificate and set it up properly.
In the absence of this change, Google Search Console will still collect data from the HTTP version which will get less and less traffic over time.
To add this property, go to Google Search Console and add HTTPS as a new property.
Then resubmit your sitemap files containing the new HTTPS versions to Google.
HTTPS and SSL Issues in WordPress: Final Thoughts
Getting HTTPS URL and SSL certificate will have many positive impacts on your website: better security, no more Chrome warnings, better loading times, better SEO scores, brand credibility and much more.
So even though this looks difficult for you, it’s really important to implement HTTPS URL and SSL certificate to your WordPress website.
I hope this article helped you troubleshoot your issues with SSL / HTTPS in WordPress.
Frequently Asked Questions about WordPress SSL
If you’re seeing this message, that means you don’t have an SSL certificate on your site or that it wasn’t correctly configured during installation. Secure your website with an SSL certificate for a better user experience and a more secure layer of security.
Click the padlock icon next to the URL in your web browser. In this section, you’ll find some more information about the certificate and encrypted connection.
The frequency of backups depends on the nature of your website and how often you update its content. However, it’s generally recommended to perform daily backups for most websites. If your site has frequent updates or high traffic, you may want to consider real-time or hourly backups.
Log in to WordPress >> Settings >> General.
Look for the fields WordPress Address (URL): Site Address (URL):
Replace HTTP with HTTPS in both URLs.
In most cases, the certificate installation on the server hosting the site was not completed properly.
That’s most likely because WordPress is still using the HTTP prefix for them instead of HTTPS.
You can edit these settings in WordPress >> Settings General.
After an SSL certificate expires, you will no longer be able to communicate over a secure, encrypted HTTPS connection. All the information will be transmitted in plaintext, leaving your data exposed to anybody listening in on the network.
In general TLS/SSL Certificate Validity Periods are currently 398 days, or about 13 months.
You will need to use an SSL monitoring tool like WP Umbrella.
Yes, WordPress can actually work without an SSL certificate, however if your website doesn’t have an SSL certificate, it will not been secure and we strongly advise you to get a certificate.