How to Make WordPress Site Private
Learn how to make your WordPress website private.
Do you want to make your WordPress site completely private ?
A WordPress site can be made private for several reasons. This is a common practice among agencies and freelancers, which is very easy to accomplish no matter what your motivation is.
There are several ways to set up WordPress privacy. Either you can make a single post private or you can close your entire site to the public.
We will show you how to make your WordPress site or post private in this article.
Let’s get started!
Why Make WordPress Site Private?
Why would someone create a private website, you might wonder. Quite a few reasons, actually!
No matter what content you post, you might want to make some or all of it private. If you want to set up a membership website with paid articles, this will be very helpful. Your content will only be available to those who purchased the access.
Such websites are also used by some people as a development playground. Making a private WordPress site allows you to play around with the code without worrying about unwanted visitors.
If you are an agency or a freelancer, it’s also an excellent way to show your work in progress to your clients.
Making a WordPress Site Private With My Private Site Plugin
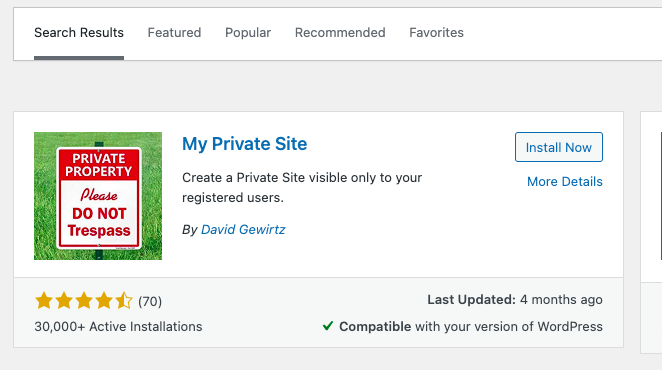
The first step is to install and activate the My Private Site plugin. Then, activate the plugin, and go its settings.
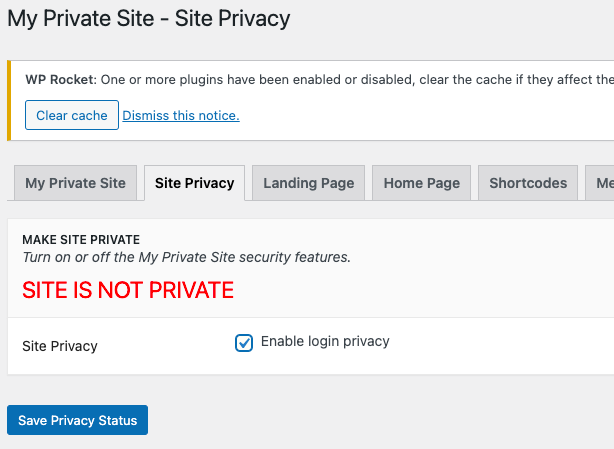
You must check the ‘Make Site Private’ box first to enable the plugin and make your site private.
After that, you can allow users to register on your WordPress site. You can skip this section if you don’t want users to have the ability to register on your site.
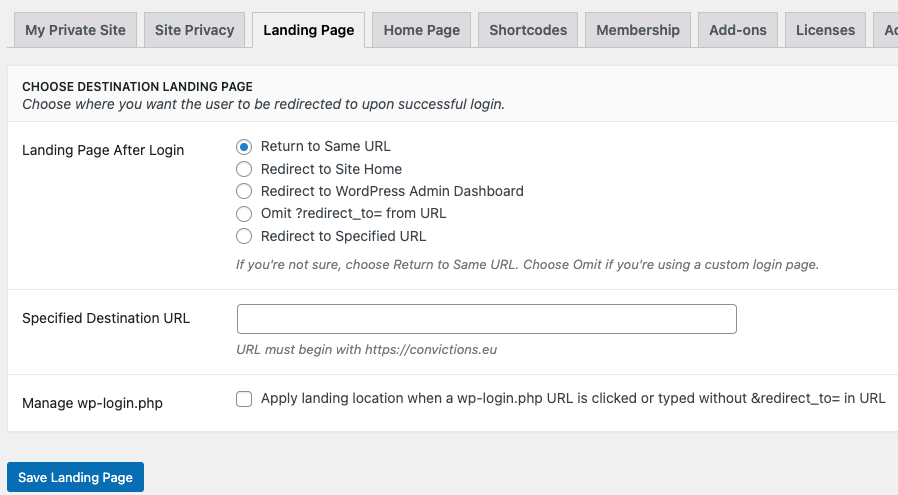
When users sign in, you can choose the landing page they see in the ‘Landing Location’ section. When the plugin is enabled by default, users will be redirected to the same URL as when they logged in.
Alternatively, you can redirect users to your homepage, WordPress admin dashboard, or any other URL of your choice.
Plugins like My Private Site also allow you to exclude certain parts of your website from being private.
If, for example, you want users to be able to see a static front page, then you can set up an exclusion for it. Including other URLs, such as the contact form or the about page, is also possible.
That’s it, users visiting your website will now have to log in before they can view it.
Activating the Private Feature on WordPress
If you don’t want to use a plugin, it’s also possible to activate the private feature on WordPress.
A built-in feature of WordPress lets you create private posts and password-protected pages.
Create a new post / page or edit an existing one.
Then go to the Visibility section on the right.
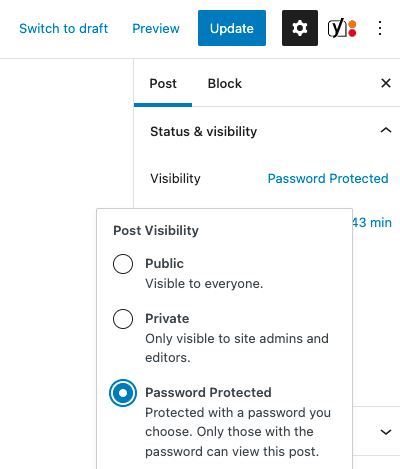
Posts can be hidden in two ways – Private or Password Protected.
Private
Your post will only be visible to administrators and editors if you choose Private.
After you select the option, a prompt will ask if you want the post to be private. Click Yes, and the post will be private!
Password Protected
Click Update once you have chosen your password.
When the process is complete, a Password Protected indicator will appear.
From now on, only those with the password will be able to see the posts.
Note that users with the role of Administrator or Editor can access a password-protected or private post in the WordPress admin area.
This article should have helped you create a completely private WordPress site. You might also want to give a look at our article on how to prevent search engines to index your website.