How to Move Your WordPress Site to a New Host: A Comprehensive Guide

Switching web hosts? Looking to move WordPress to a new server? Whatever your reason, migrating a WordPress site doesn’t have to be complicated or scary.
In the process of switching web hosts or migrating a website to a new server, the biggest risk is data loss and downtime.
Many people have had enough of their current provider and are looking for a new one. Nevertheless, many people are hesitant to move to a more reliable host for fear of making errors and damaging their website.
It can be overwhelming and stressful to move your website to a new host, but it doesn’t have to be.
Let’s relax! Migrating your website is nothing to worry about if you spend a little time preparing it yourself. If approached correctly, migrating WordPress can be a very easy and straightforward process.
With this tutorial, you will learn how to migrate safely to a new host without experiencing any downtime.
Furthermore, we will answer the most commonly asked questions about moving a WordPress site to a new hosting provider, so that you can avoid making some common mistakes.
Let’s get started!
TL;DR
- Choose a new, reliable host.
- Backup your site.
- Create a new database.
- Update wp-config.php.
- Import your old database.
- Upload your files.
- Update DNS settings.
Step 1: Select A Reliable WordPress Hosting Provider
It’s important not to make the same mistake twice.
If your current WordPress hosting provider is slow and if you are experiencing downtime, you might want to choose a reliable hosting provider.
The most important criteria when selecting a WordPress hosting provider are uptime, performance and support reactivity.
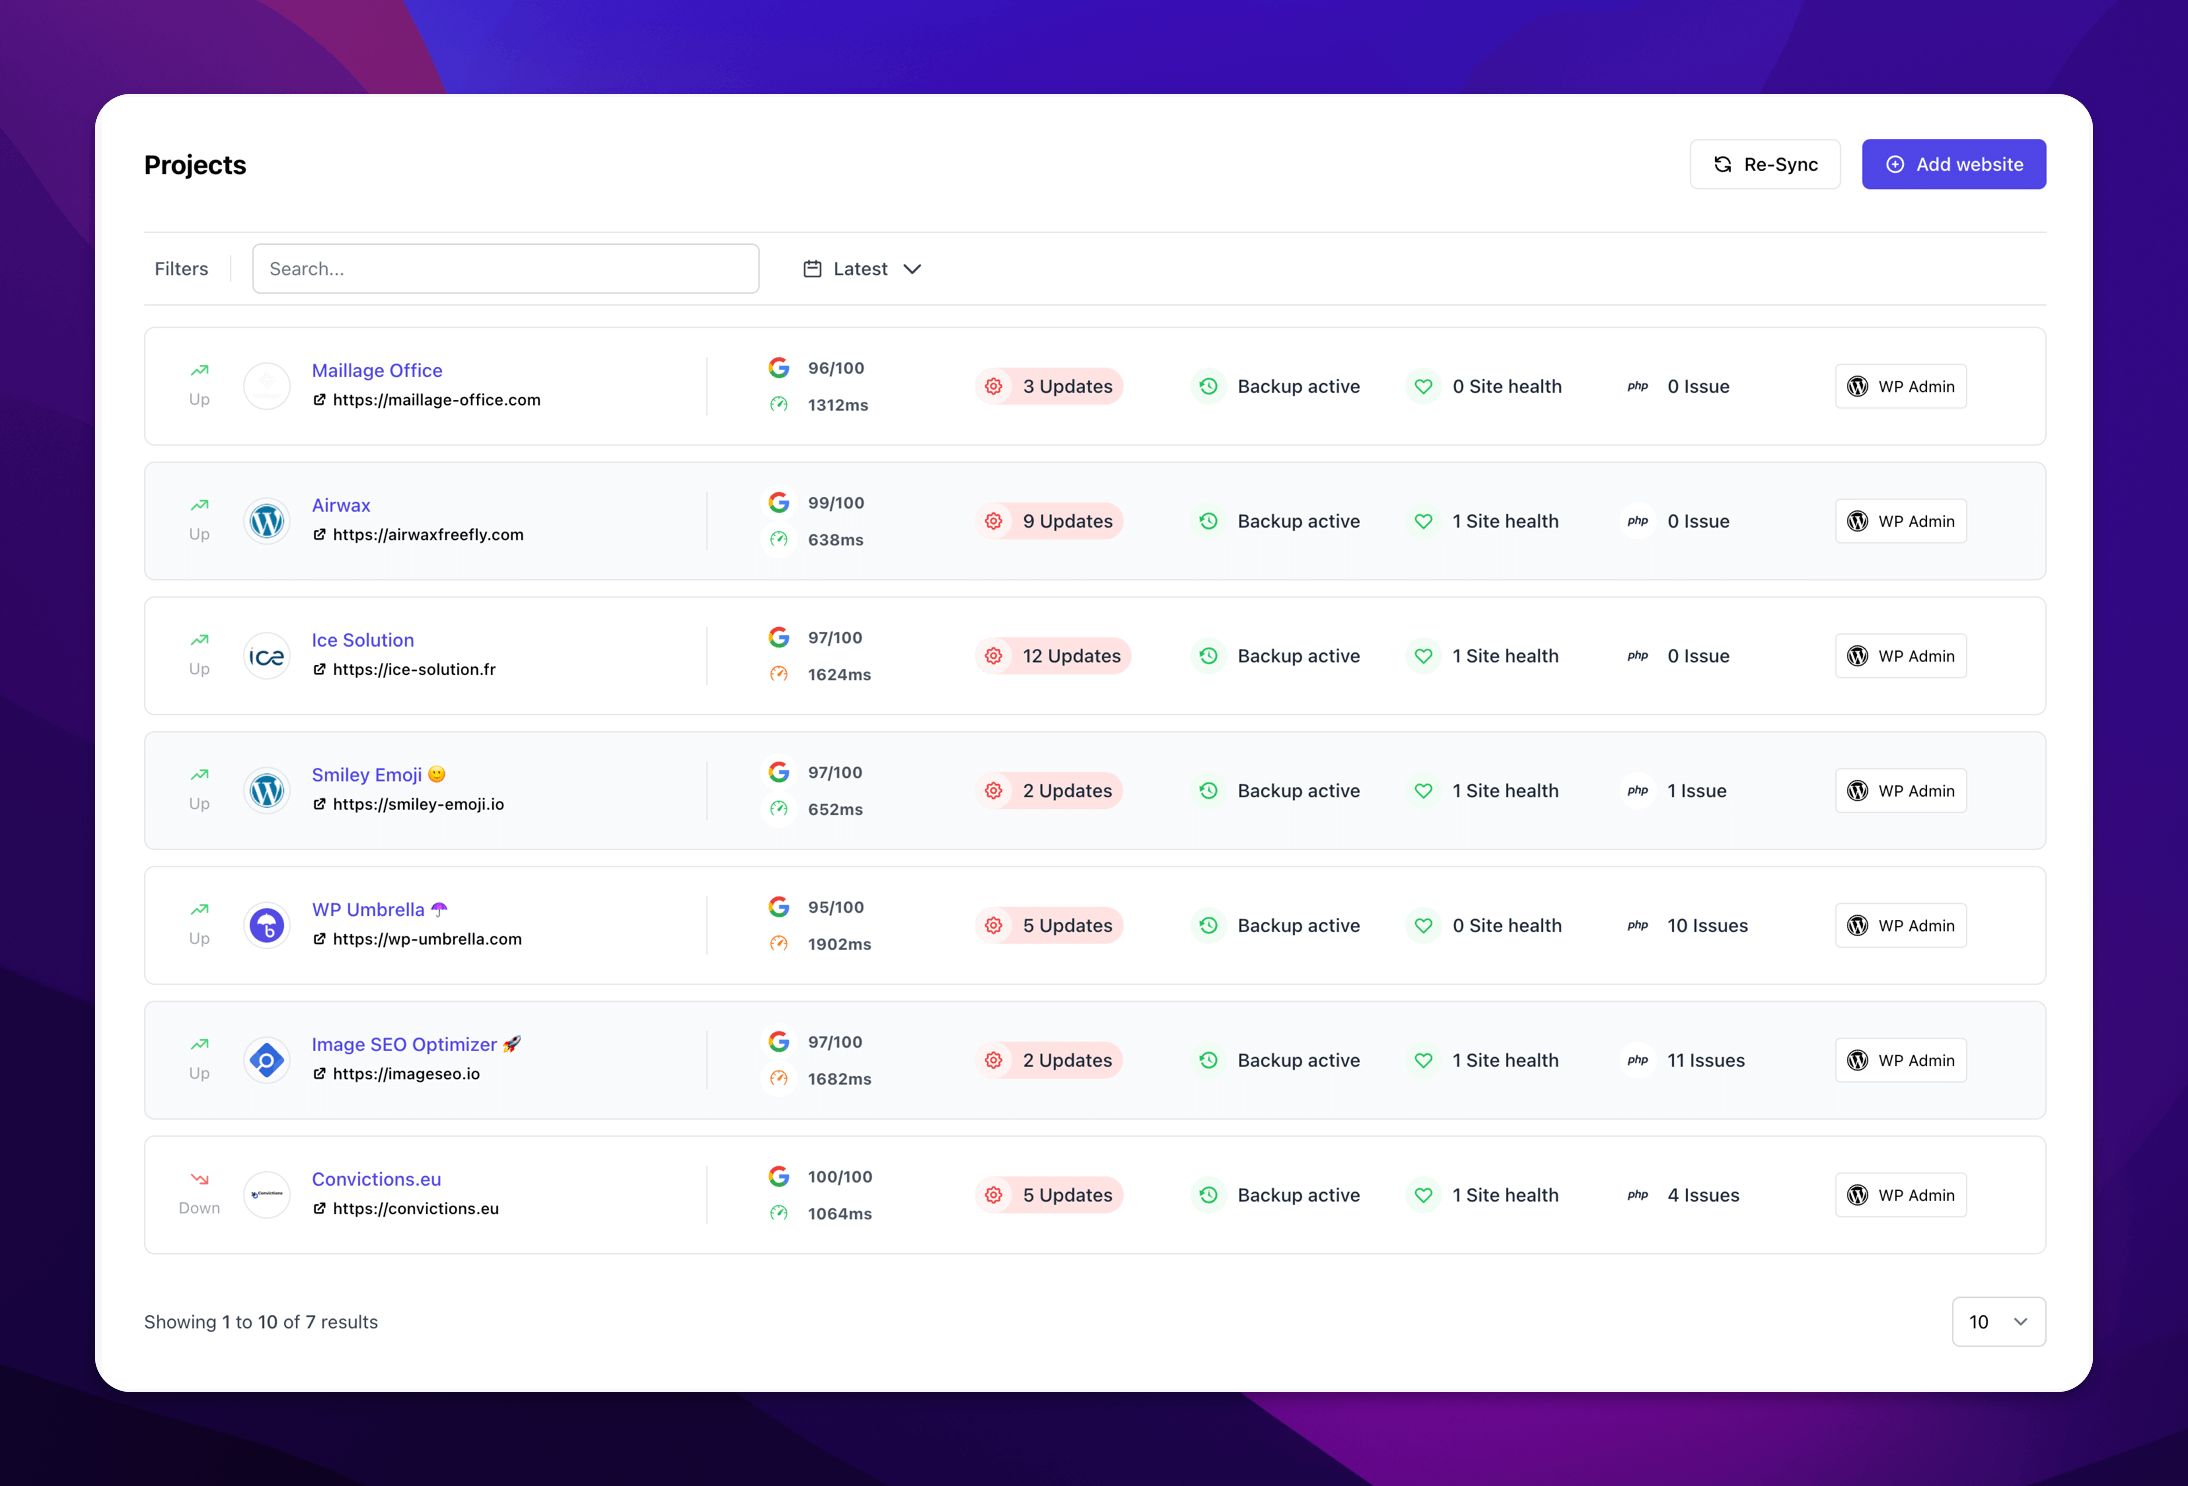
You can sign up for a trial and monitor uptime and performance with WP Umbrella’s application, without committing to a new host.
If you want to skip with this process, here’s who we recommend:
- If you’re looking for managed WordPress hosting: Kinsta and Rocket.net are the fastest WordPress managed hosting providers. They have a 100% uptime rate and an amazing customer service. Both pricing start at $30/month and we vet for them.
- If you are short on money you can opt for a shared hosting: we recommend you to look at BlueHost and SiteGround. They are cheaper (around $5/month), less performant, but still very reliable.
Step 2: Backup Your Website Files and Database
Before you migrate, make sure you have backed up all of your site’s data and files. Performing this step is good practice before making any major changes to your WordPress websites, but when it comes to migration, it’s mandatory.
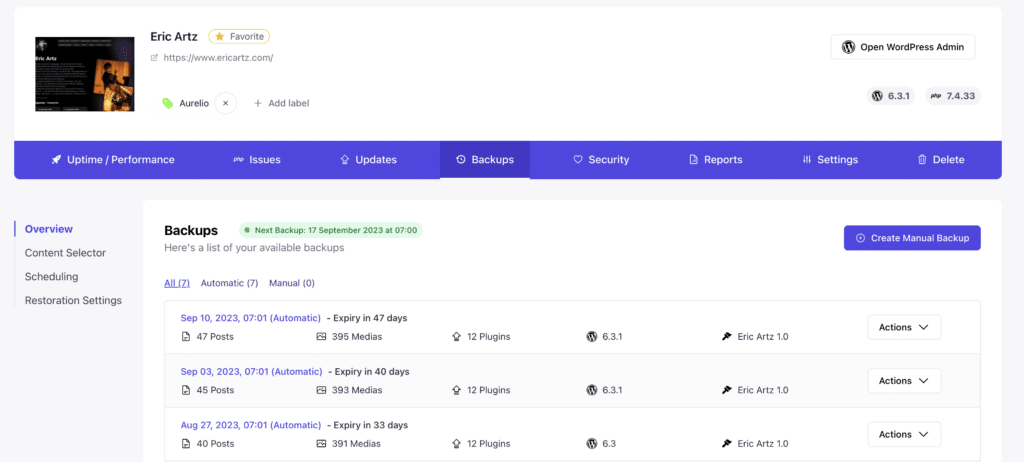
You can use WP Umbrella to backup your website in one click. Go to WP umbrella’s application, connect your website and click on the backup tab.

From here, just click on backup now and download the backup of your website and database when it is available.
If you prefer, you can go the manual route. You will need a file transfer tool (FTP) to access your website files.
Once you have installed, you will need to connect to your website’s server using SFTP credentials.
As soon as you have connected, select all the files under your website’s directory and download them. You need to include the hidden .htaccess file as well.
You also need save and export your website database.
It is easy to export your database. Open the phpMyAdmin application in your cPanel account. In the left hand sidebar, choose the database containing your WordPress installation, and once selected, click the Export button on the navigation bar.
Ready to boost your productivity, impress your clients and grow your WordPress agency?
Install WP Umbrella on your websites in a minute and discover a new way to manage multiple WordPress sites.
Get Started for free
Step 3: Create the New WordPress Database
We first need to create a WordPress installation environment before we can migrate to the new web host. You must first create a database into which your SQL data can be imported.
Connect to the cPanel software of your new web host using the credentials they have given you and go to your MySQL database in order to create a new database for your website.
Then, create a new MySQL user. Add the user to the new database and give it all permissions.
Put the new MySQL username, password, and database name somewhere safe. They will come in handy shortly.
Step 4: Modify the wp-config.php File
Navigate to the folder where you downloaded the backup (on your computer). The wp-config.php file controls the connection between WordPress and the database.
Ensure that you copy this file and store it in another folder on your computer. We need to do this to restore the changes we are about to make in case anything goes wrong afterwards. This is an important step, please do not skip it!
Now, let’s open the original version of the wp-config.php file and make some editing.
You need to change the database name, user and password.
define('DB_NAME', 'db_name');
define('DB_USER', 'db_user');
define('DB_PASSWORD', 'db_pass');
Save the file.
Step 5: Import Your WordPress Database
The process of importing data can begin now that you have a new database.
Select the new database from the left-hand sidebar of phpMyAdmin from your cPanel software. Then, click the Import tab.
Select the SQL file you exported earlier.
Uncheck the Partial Import check box, make sure the format is set to SQL, and then click Go. Importing the database will begin at this point.
Your database size determines the length of time it takes to import.
Step 6: Upload The WordPress Files To Your Server
You have completed the preparation of the new database and the reconfiguration of the wp-config.php file. Now, it is time to upload the website files.
Use your FTP client to connect to the new web host and browse to the folder where your website will be stored. When this is the primary or only site on this web server, the files should usually be uploaded to the public_html folder or at the root of the www folder.
Be sure not to delete these files once they have been uploaded.
Step 7: Update Your Domain DNS
Now that your WordPress database and files are on your new hosting server, your domain still points to your old hosting account.
You must update your domain’s DNS nameservers to update your domain’s name.
Your new web host needs to provide you with the DNS name server information. There are typically a few URLs like this:
ns1.myhost.com
ns2.myhost.com
I will not detail the process here since it’s different for every domain register. However, the basic concept is the same.
You need to look for the domain management area and then, the nameservers section. You can update your DNS from there.
It can take up to 48 hours for DNS changes to propagate to all users.
Due to the fact that you are using the same content on both hosts, your users will not see any difference. Your WordPress migration will run smoothly without any interruptions.
As a precaution, we recommend you to keep your old hosting for at least a week.
You can ask your web host for assistance if you need assistance updating your DNS.
Conclusion: You’ve Successfully Migrated Your WordPress Site!
You’ve successfully navigated through the steps needed to move your WordPress site to a new host. Trust us, we get it—it can seem like a maze at first.
Hopefully, with this comprehensive guide, you’ve found that migrating WordPress hosting is far from being rocket science. So long as you follow the guidelines, make backups, and double-check your work, the risk of data loss or downtime becomes minimal.
And if you need further assistance, don’t hesitate to contact your hosting provider or seek expert advice.
Remember, you’re never alone on the WordPress journey!
FAQ Section
Generally, you can migrate a WordPress site to a new host within 48 hours, but it varies based on your old and new host.
The main risks are data loss and downtime, but these can be mitigated by following this article or contacting your new hosting provider support team.
